
Hello everyone!! I have a new post up over at the Peachy Keen Stamps blog sharing a tutorial with you on how to put images on candles using stamps. I have done a few of these in the past with pictures of my kiddos for family members, but I love this idea of using stamps on a candle to make personalized gifts for neighbors and friends.
Here is what you will need to get started:
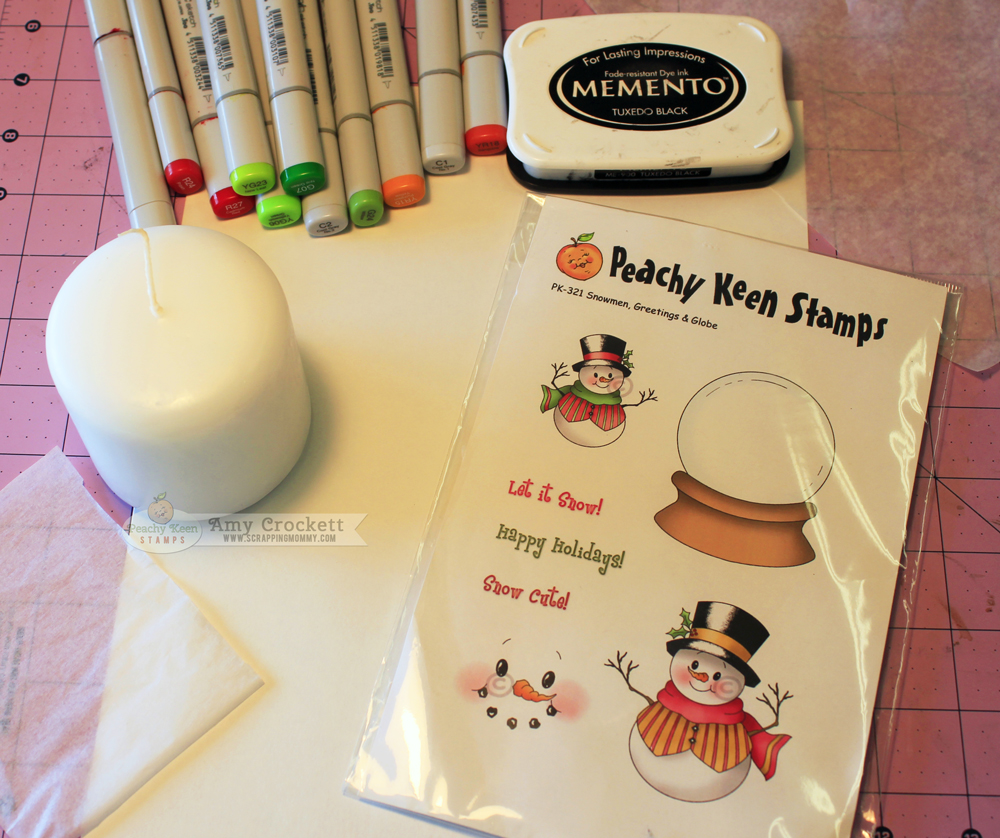
- candle
- stamps (I am using the Snowmen, Greetings and Globe stamps from Peachy Keen Stamps)
- black ink (I use Memento Tuxedo Black)
- white tissue paper
- wax paper
- scissors
- heat tool
- coloring medium (I used my Copic markers)
- white scrap cardstock (to keep your work surface from getting stained)
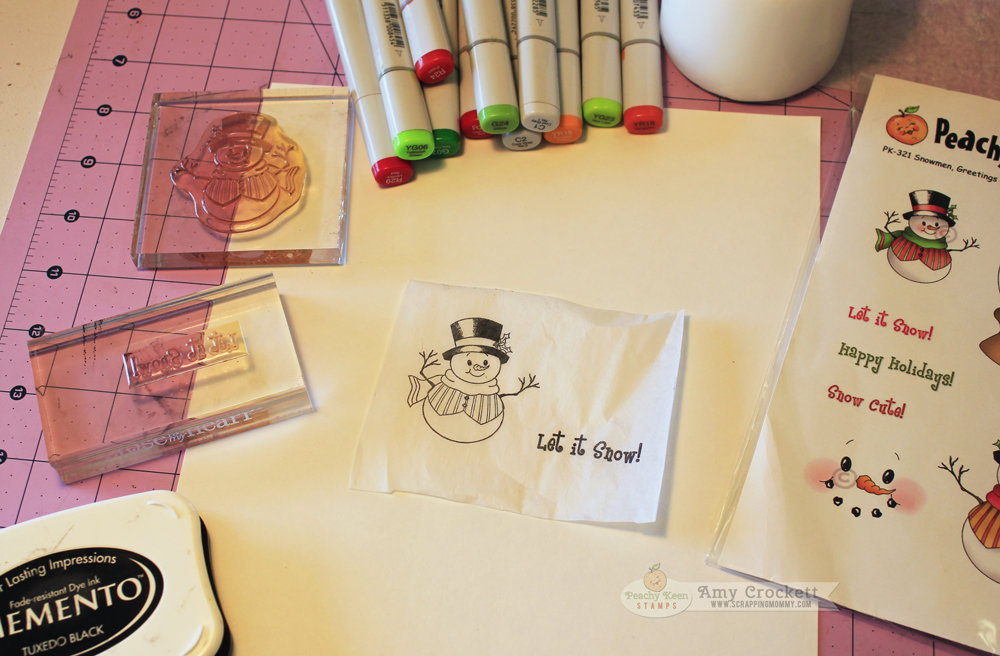
Step 1:
Take your tissue paper and stamp your image on the smoother side. There is usually a bit of a smoother side to tissue paper and I have had better results with the coloring on the smooth side. Be sure to do this over your white scrap piece of cardstock to keep the ink from bleeding through to your workspace.
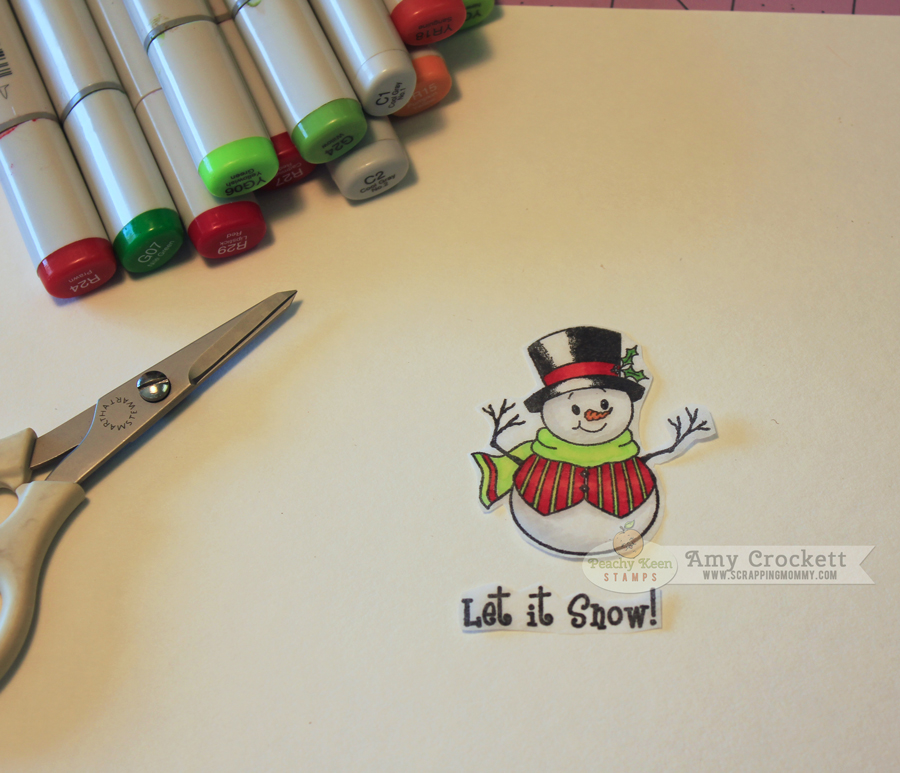
Step 2: Color and cut out your image. If you are using markers, be sure to keep the white cardstock under your image because they will bleed through the thin tissue paper. There is no need to be precise on your cutting job....it will not show once it is on the candle.

Step 3: Place your cut out images on the candle where you want them to be.

Step 4: Tightly wrap the waxed paper around your candle so that it is smooth over the image. Using your heat tool, wave it over and around the image until you see it start to get glossy. Be sure that it is glossy over the whole image, but don't leave it too long in one spot or it will warp your candle.
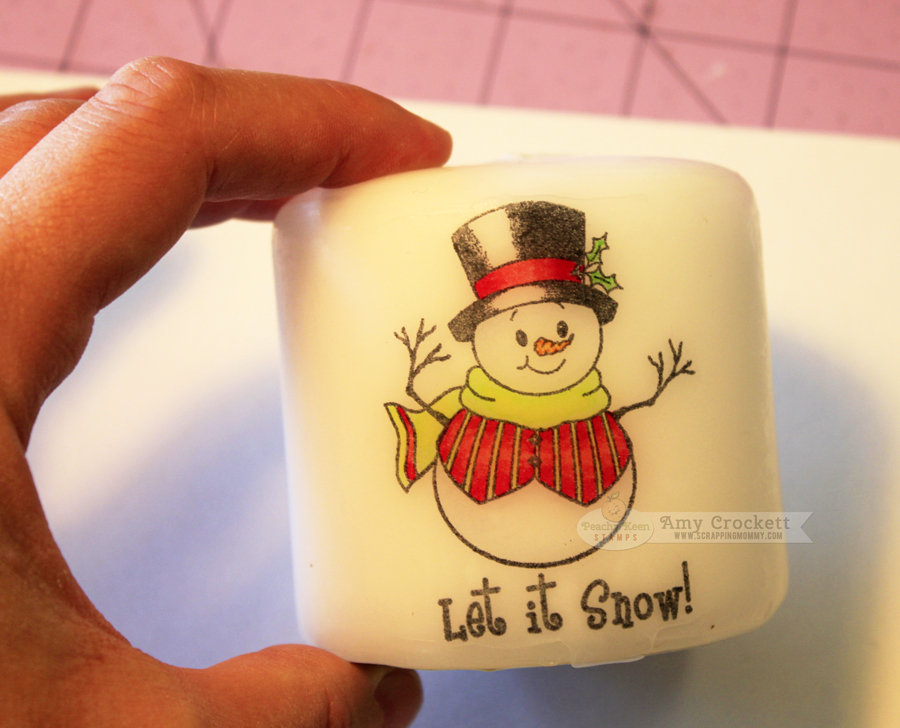
Step 5: Let the candle cool (only takes a minute or so) and then carefully peel the wax paper off of the candle. Your image should now be completely melted into the candle.
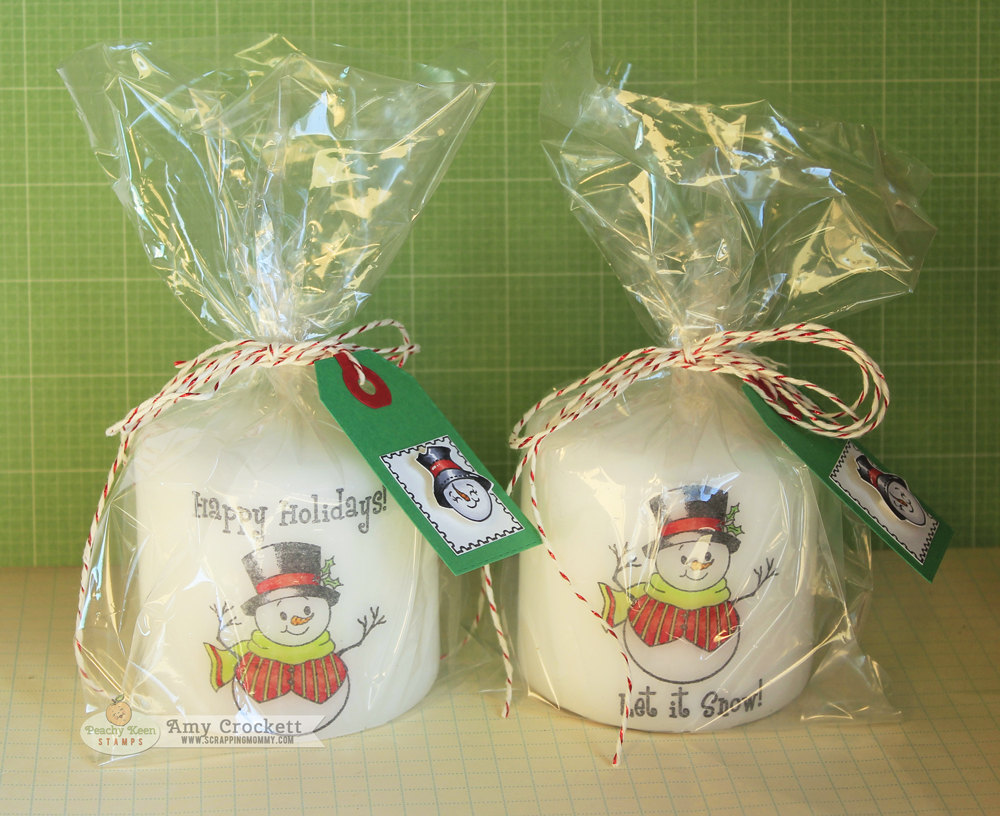
Here is a look at two of them that I have made.....
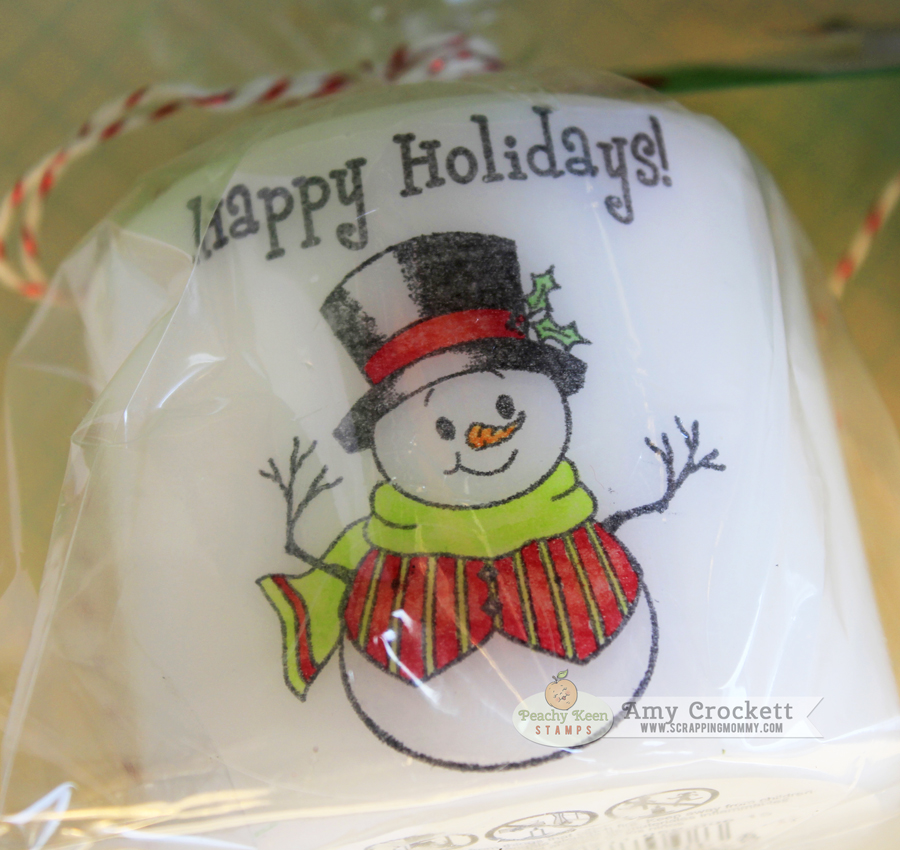

They were really simple and quick to make....I think I will be doing several more for neighbor gifts this year!! To package them up, I put them in cellophane bags.
I used some shimmer bakers twine from The Twinery to tie them up and then made this cute little tag with the November 2013 SOTM from Peachy Keen Stamps. This set is part of the November Specials going on right now. I also used the Stitched Round Tab and Tag die set from My Creative Time for the tag base.

I hope that you have a great week!!
Hugs,
Amy
These are Amazing! How do you come up with this? Thank you so much for sharing your works of art!
ReplyDeleteHappy crafting :-)
Super cute candles and a Fun tag!!
ReplyDeleteHave a wonderful day,
Migdalia
*Crafting With Creative M*
Great idea for Christmas gifts and a great tutorial too Amy! You also used one of my Favourite PK snowmen, bonus! xxx
ReplyDeleteThese are so adorable. A HUGE THANK YOU for the tutorial. I can't wait to try this!
ReplyDeleteAmy, you are amazing. I'm so glad I signed up to get email notifications of your posts, because this is awesome! Thank you for the great tutorial and the step by step pics. I may have to give this a try this year. Love it!
ReplyDeleteThis so cute! Thanks for the tutorial :) I wanna try this.
ReplyDelete