Hello everyone!! I am here to share a fabulous autumn themed card with you using yummy bakers twine from The Twinery. There is a fall/themed week over on The Twinery blog and if you are looking for inspiration in that department, head on over and check out what the other designers have been working on.
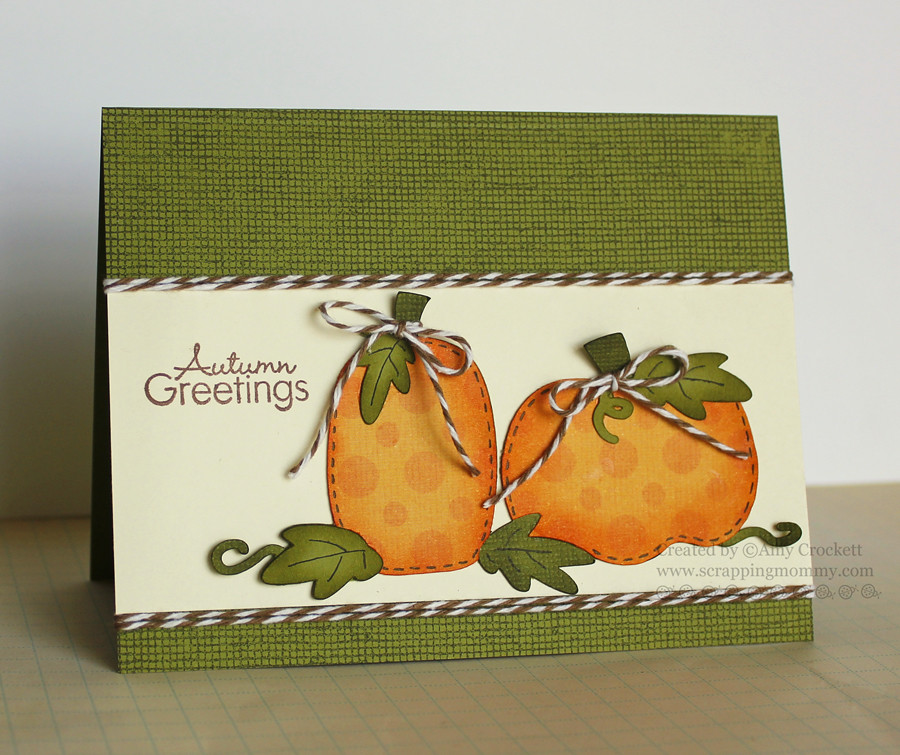
Today I worked with some Cappuccino bakers twine to accent my Autumn Greetings card....
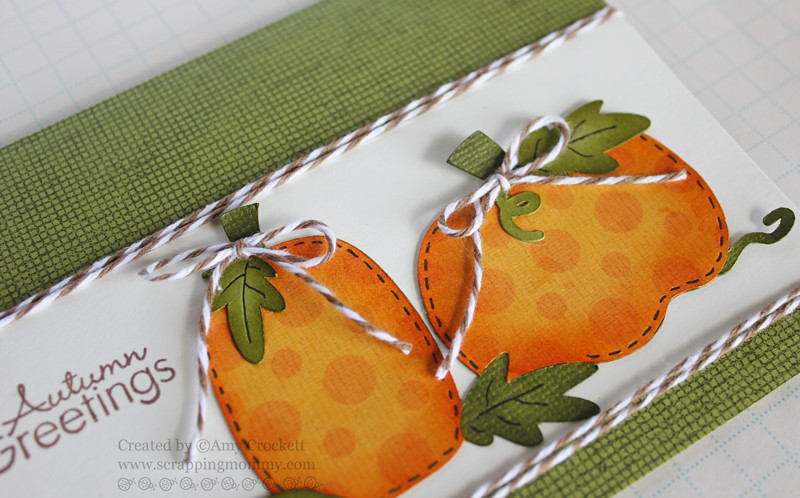
The pumpkin images are cut out with my Cricut Explore and I used the Piles of Smiles from My Creative Time for the sentiment. I used the yummy Cappuccino bakers twine from The Twinery to tie around the stems of the pumpkins and then wrapped it around the top and the bottom of the cream cardstock as a border. Here is a closer look......
For added depth and texture, I used some ink for shading the edges and also some pen accents.
What is your favorite thing about fall/autumn? I have lots of things I love about it....it is my favorite season (well, that and spring). I can't decide if I love the cooler sweater weather better or the changing leaves. How about you?
Hugs,
Amy
Showing posts with label My Creative Time. Show all posts
Wednesday, October 12, 2016
Tuesday, May 3, 2016
Happy Teacher Appreciation Day/Week!!
Hello everyone!! I have a super cute treat container to share with you today that is made out of a pint paint sized can. This posted last week over on The Twinery blog.
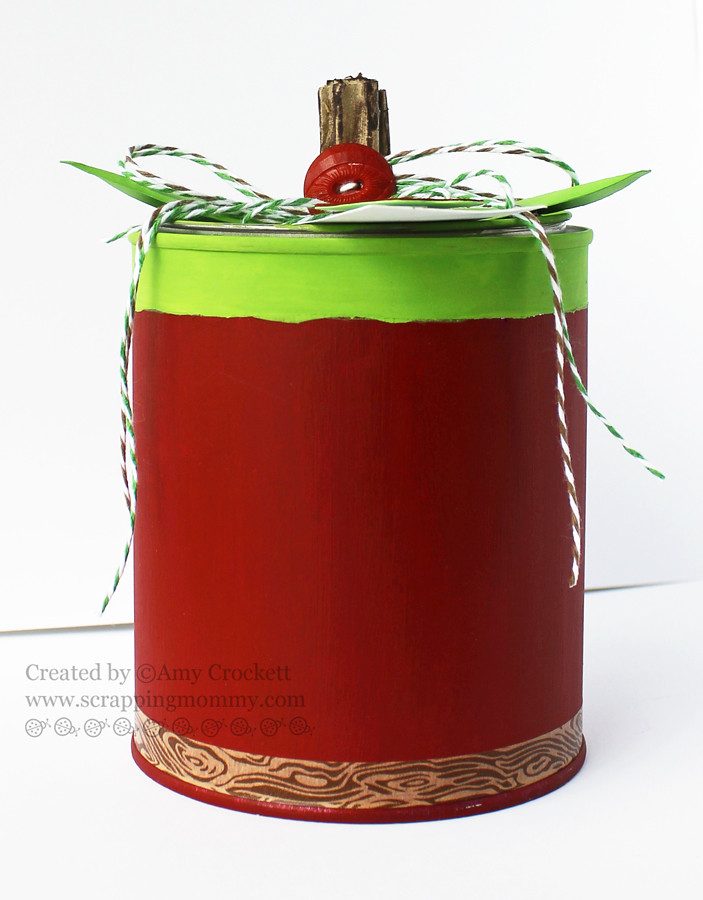
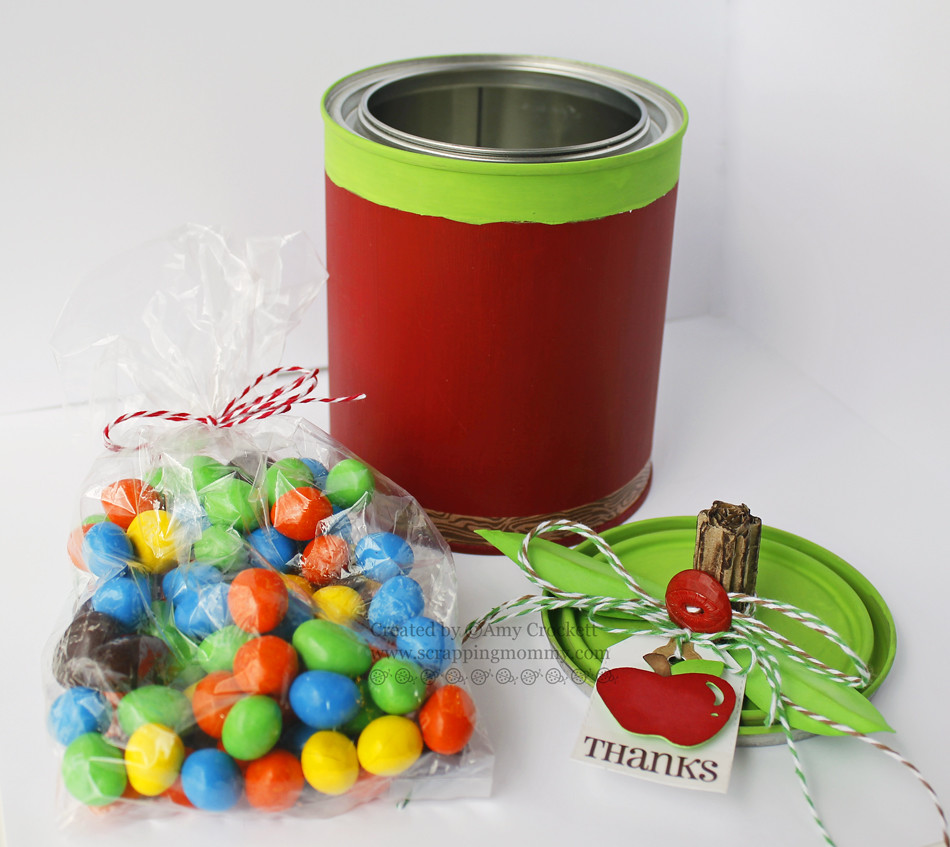
I started out with a blank can and painted it red and green like an apple. I rolled up a bit of corrugated cardboard and inked it with a brown color for the apple stem and hand cut out some leaves. I hot glued them all on and then tied it all up with some Cappuccino and Peapod bakers twines and added a red button in the middle. The tag is made with THIS die from My Creative Time and the apple is cut with my Cricut Explore. I added a Thanks sentiment from SRM Stickers. Here is a closer look.....
I added some woodgrain washi tape to the bottom of the can for a bit of fun texture.......
I filled it with a bag of chocolate candies, but you could fill it with just about anything you wanted to for that special teacher in your life. I actually homeschool, so my kids have been filling up this can with treats, sweet notes and pictures for me. I can't wait to see what they have put inside.
What do you think? Happy Teacher Appreciation Day/Week to all the teachers out there!!
Hugs,
Amy
I started out with a blank can and painted it red and green like an apple. I rolled up a bit of corrugated cardboard and inked it with a brown color for the apple stem and hand cut out some leaves. I hot glued them all on and then tied it all up with some Cappuccino and Peapod bakers twines and added a red button in the middle. The tag is made with THIS die from My Creative Time and the apple is cut with my Cricut Explore. I added a Thanks sentiment from SRM Stickers. Here is a closer look.....
I added some woodgrain washi tape to the bottom of the can for a bit of fun texture.......
I filled it with a bag of chocolate candies, but you could fill it with just about anything you wanted to for that special teacher in your life. I actually homeschool, so my kids have been filling up this can with treats, sweet notes and pictures for me. I can't wait to see what they have put inside.
What do you think? Happy Teacher Appreciation Day/Week to all the teachers out there!!
Hugs,
Amy
Post Related to:
cricut,
Food Items,
Gifts,
My Creative Time,
SRM Stickers,
The Twinery
Thursday, March 24, 2016
Fun Easter Tags with The Twinery
Hello there and happy spring!! I just am loving this warmer weather and the little bout of snow we got this week made me appreciate the warmth even more. Today I get to share these fabulous Easter tags over on The Twinery blog.....
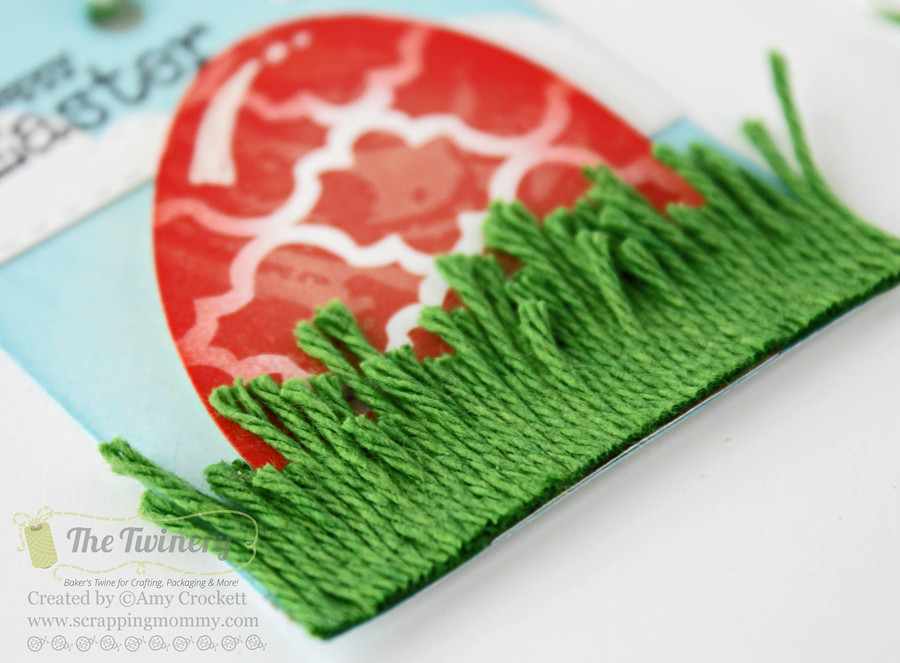
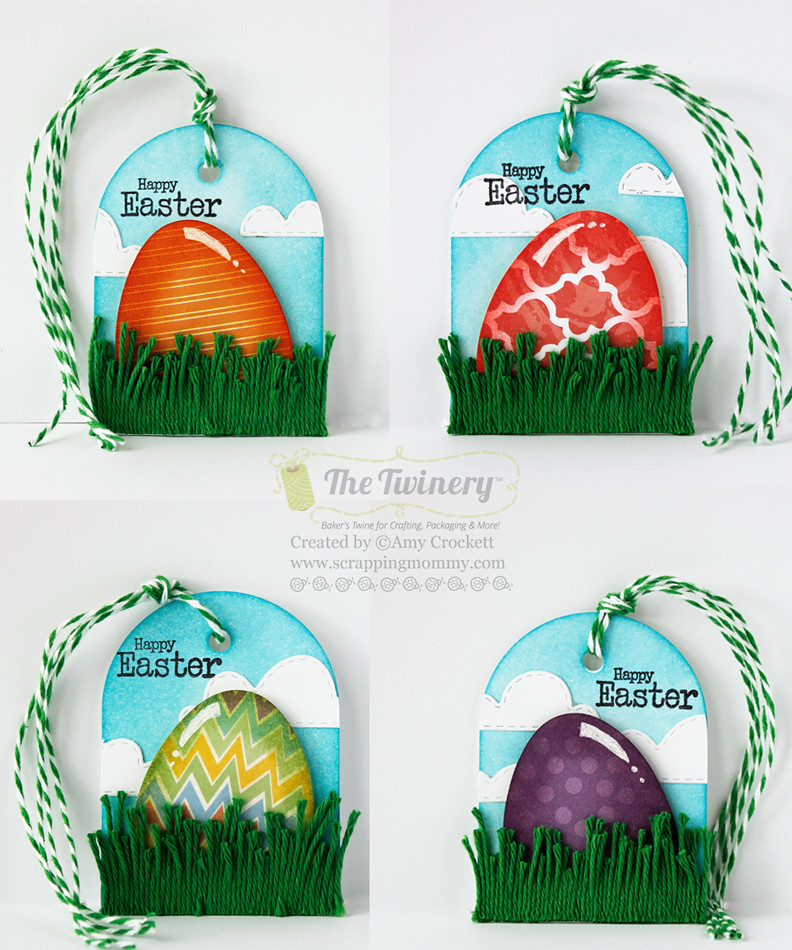
I just love the look of these colorful eggs nestled in the Solid Peapod bakers twine as the grass. I used dies and stamps from My Creative Time for the tags, clouds, eggs, and sentiment. Here is a closer look at that awesome baker's twine grass.....
To get the look of a real egg, I used some ink to shade the edges of my egg and then added a white shine mark with a gel pen. My kids say that these eggs look real from a distance....what do you think?
I just love the look of these colorful eggs nestled in the Solid Peapod bakers twine as the grass. I used dies and stamps from My Creative Time for the tags, clouds, eggs, and sentiment. Here is a closer look at that awesome baker's twine grass.....
To get the look of a real egg, I used some ink to shade the edges of my egg and then added a white shine mark with a gel pen. My kids say that these eggs look real from a distance....what do you think?
To finish off my project, I added some Peapod bakers twine to the tops to attach them to some Easter treat.
Do you have any fun Easter plans? We will be going to church and then having an early dinner as a family. On Saturday we will be going to the local Easter egg hunt....we recently moved to this town, so I hope that the kids enjoy it.
Have a great day and Happy Easter!!
Hugs,
Amy
Post Related to:
My Creative Time,
Tags,
The Twinery
Thursday, July 23, 2015
Caribbean Twine Spotlight Blog Hop with The Twinery
Hello and welcome to my stop on the Caribbean Twine Spotlight Blog Hop. I am excited that you are joining us today on this fabulous hop and I hope that you will get some great ideas along the way. If you have arrived from Tifany DeGough's blog, you are in the right spot. If you have just happened up on this post and would like to join us, hop on back to The Twinery blog to start at the beginning and to get all the details.
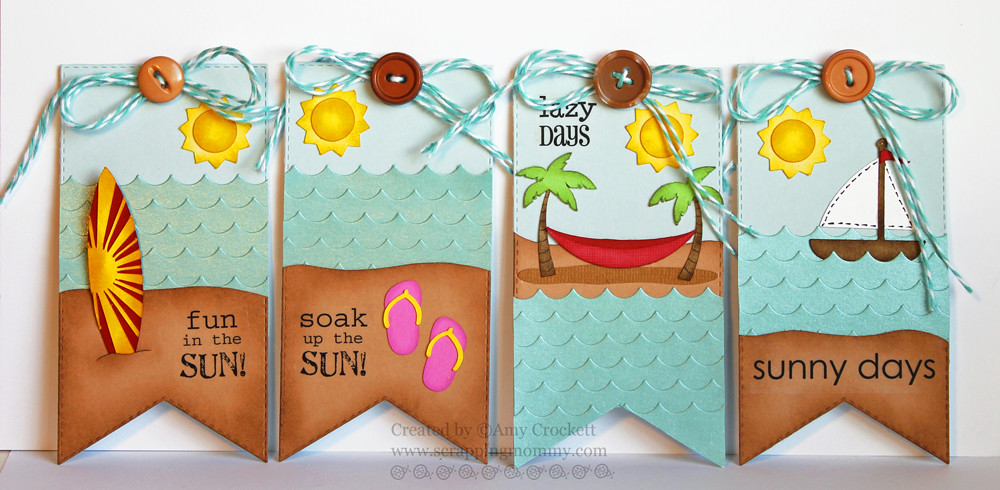
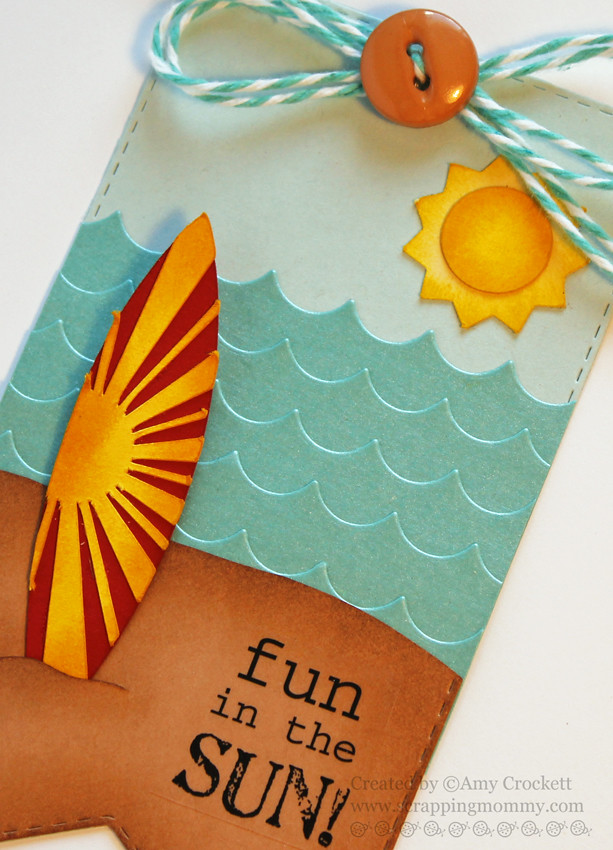
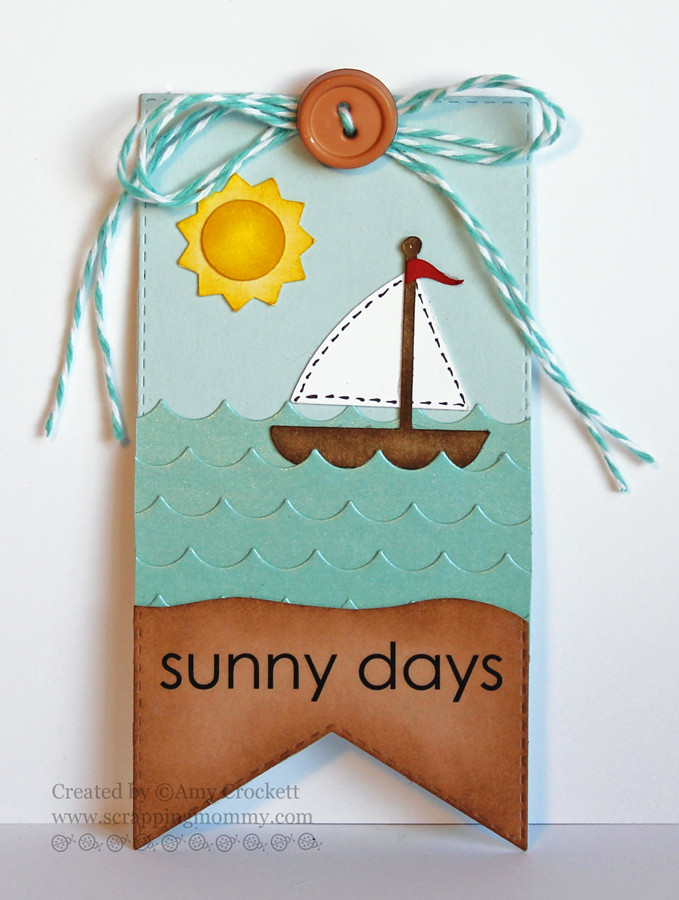
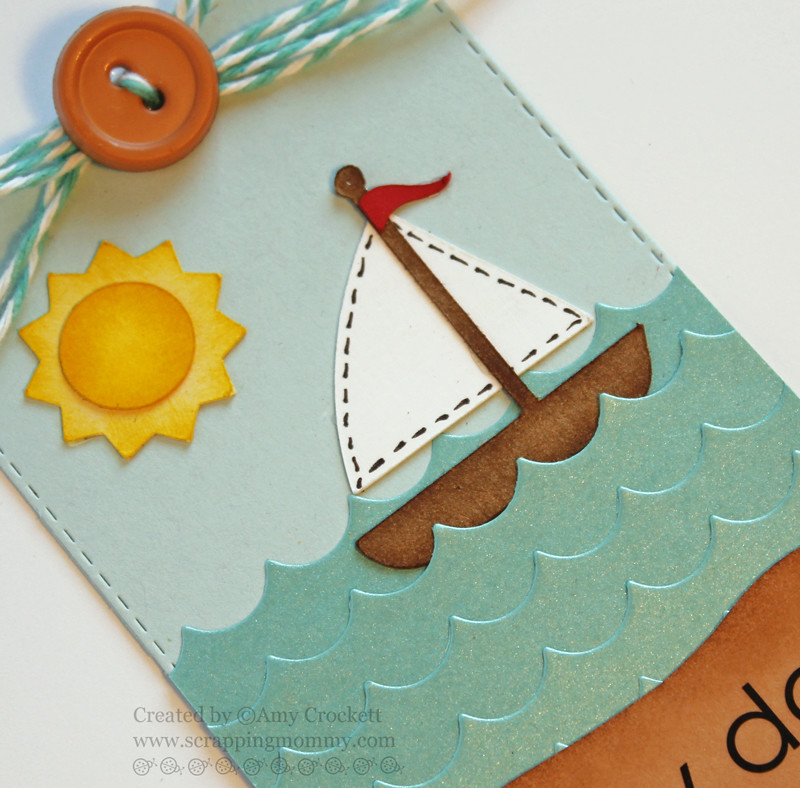
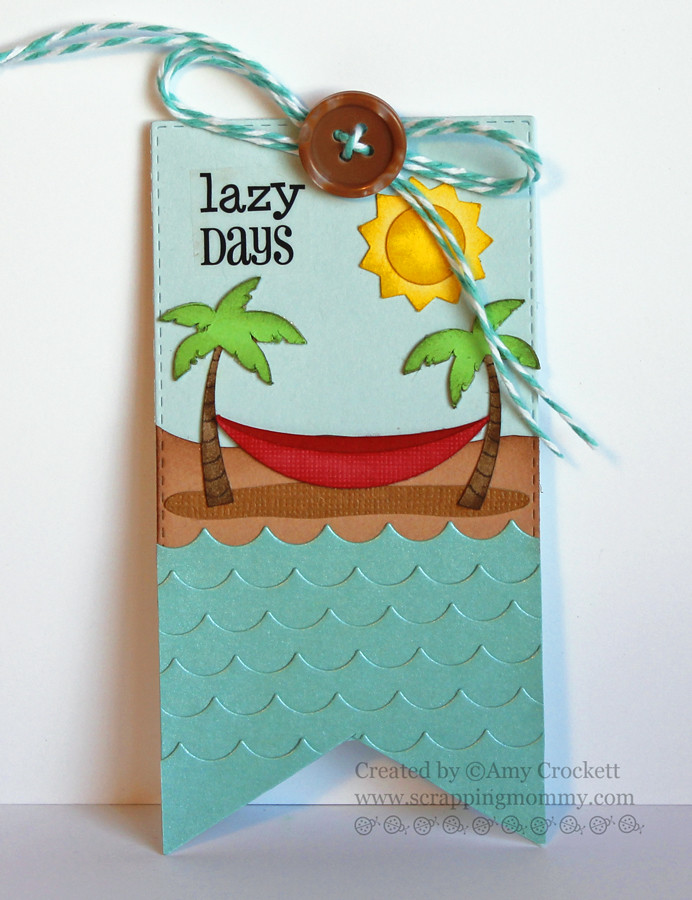
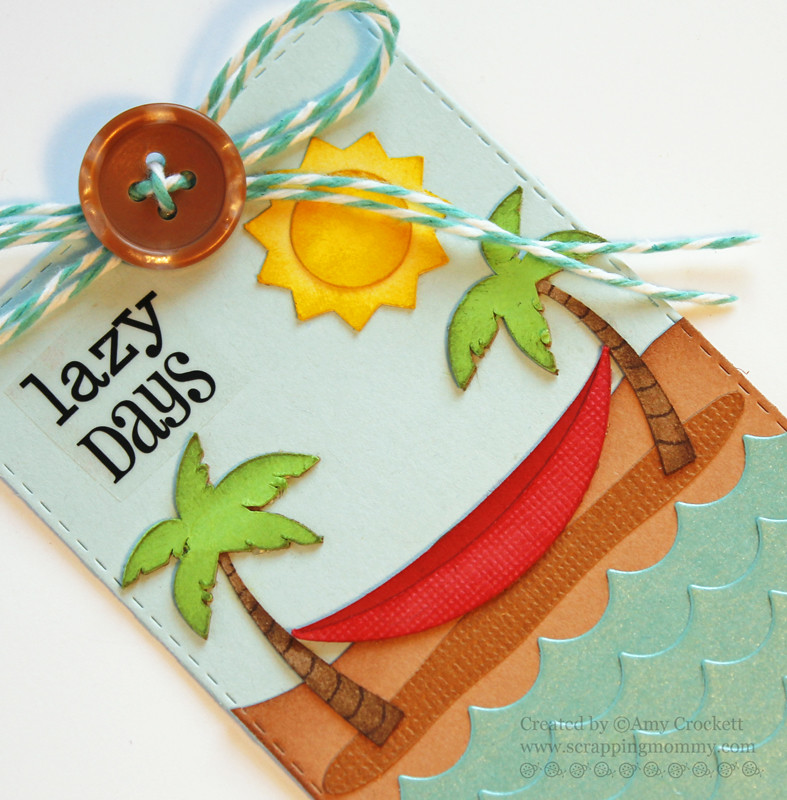
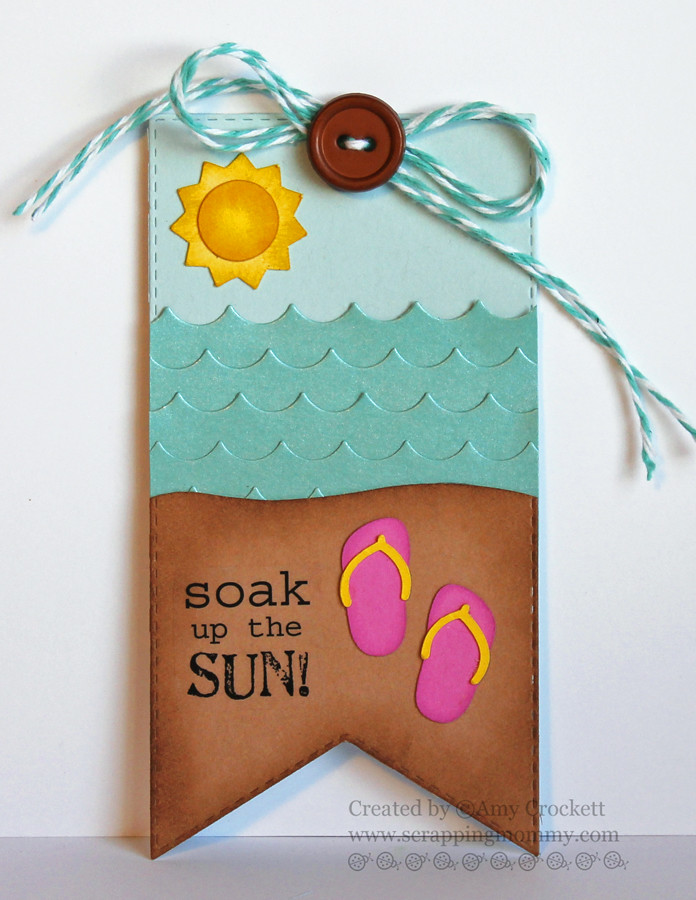
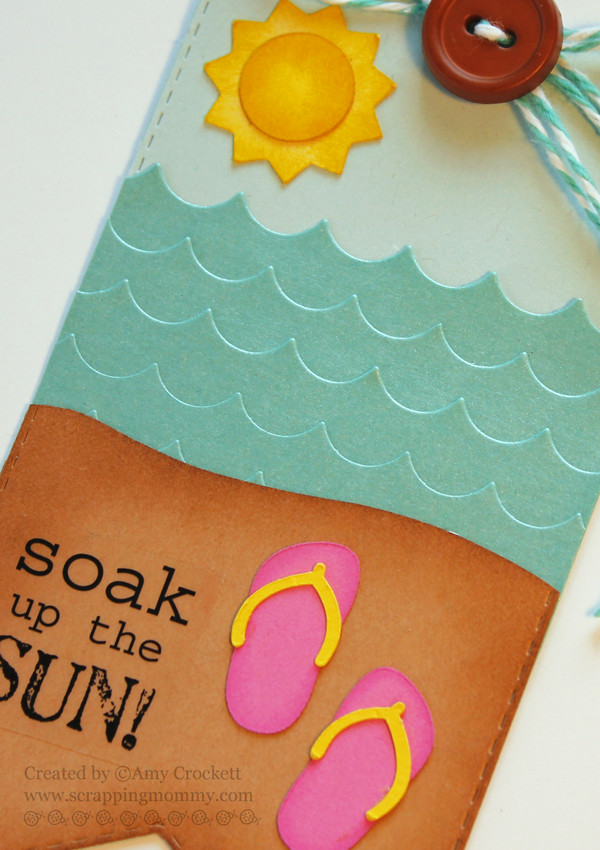
For my project today, I am sharing a set of 4 large tags with a summer/beach theme. Take a look....
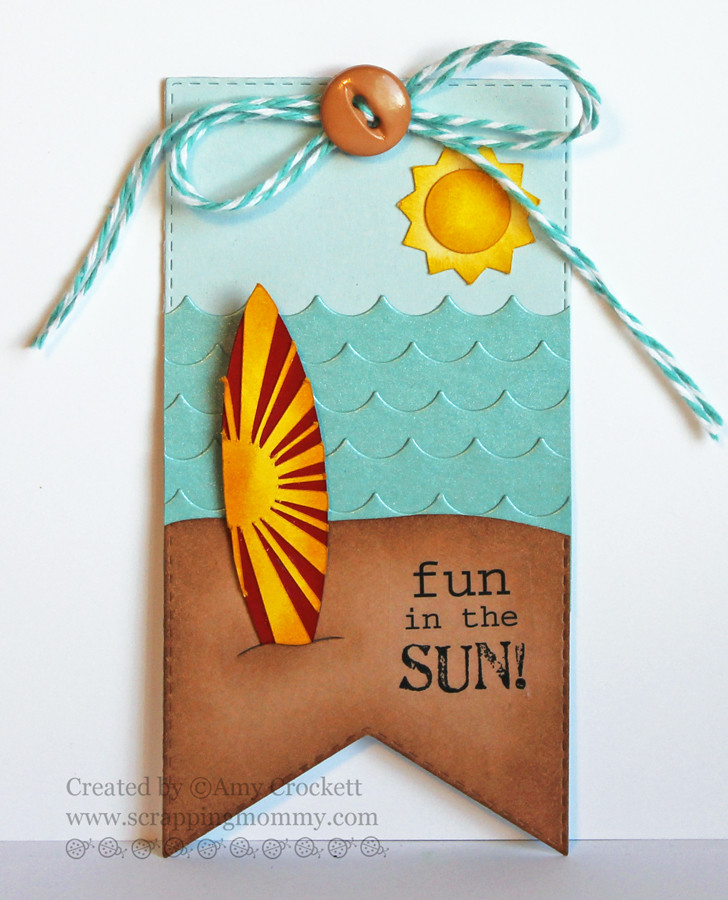
I started with a tag base that I cut from THIS die. I then cut some waves with the negative space from a scallop die. I layered them onto the tags and then added a sandy beach with a light tan cardstock that I inked the edges on. I added a sun and the fun summer themed images on each of them...they were all cut with my Silhouette and from the Silhouette store. I finished them off with some Caribbean bakers twine, a button, and a sentiment from SRM Stickers. Here is a closer look at each of the tags......
Aren't these so fun?? I just love how they turned out.....they are so warm and summery (er...is that even a word?), they make me want to go to the beach right now. :)
Here are the two beautiful spools of Caribbean bakers twine available in The Twinery Store:
It is now time to hop on over to Jeanne Jachna's blog to check out the wonderful project she has created with the Caribbean bakers twine.
Here is the complete blog hop line-up:
The Twinery
Tifany DeGough
Amy Crockett (you are here)
Jeanne Jachna
DoBea Alberts
Anita Mulcahey
Jennifer Cuthbertson
Tobi Crawford
Stacey Schafer
Denise Hahn
Melyssa Connolly
I hope that you have a great time on the hop. Also, I posted a super fun summer themed layout yesterday on my blog using some Marigold bakers twine.....you can check it out HERE. I also had a guest post on the Paper Sweeties blog earlier today that you can see HERE using some yummy Orchid bakers twine. Thanks for stopping by!!
Hugs,
Amy
For my project today, I am sharing a set of 4 large tags with a summer/beach theme. Take a look....
I started with a tag base that I cut from THIS die. I then cut some waves with the negative space from a scallop die. I layered them onto the tags and then added a sandy beach with a light tan cardstock that I inked the edges on. I added a sun and the fun summer themed images on each of them...they were all cut with my Silhouette and from the Silhouette store. I finished them off with some Caribbean bakers twine, a button, and a sentiment from SRM Stickers. Here is a closer look at each of the tags......
Aren't these so fun?? I just love how they turned out.....they are so warm and summery (er...is that even a word?), they make me want to go to the beach right now. :)
Here are the two beautiful spools of Caribbean bakers twine available in The Twinery Store:
It is now time to hop on over to Jeanne Jachna's blog to check out the wonderful project she has created with the Caribbean bakers twine.
Here is the complete blog hop line-up:
The Twinery
Tifany DeGough
Amy Crockett (you are here)
Jeanne Jachna
DoBea Alberts
Anita Mulcahey
Jennifer Cuthbertson
Tobi Crawford
Stacey Schafer
Denise Hahn
Melyssa Connolly
I hope that you have a great time on the hop. Also, I posted a super fun summer themed layout yesterday on my blog using some Marigold bakers twine.....you can check it out HERE. I also had a guest post on the Paper Sweeties blog earlier today that you can see HERE using some yummy Orchid bakers twine. Thanks for stopping by!!
Hugs,
Amy
Wednesday, July 22, 2015
July Guest Designer with Paper Sweeties
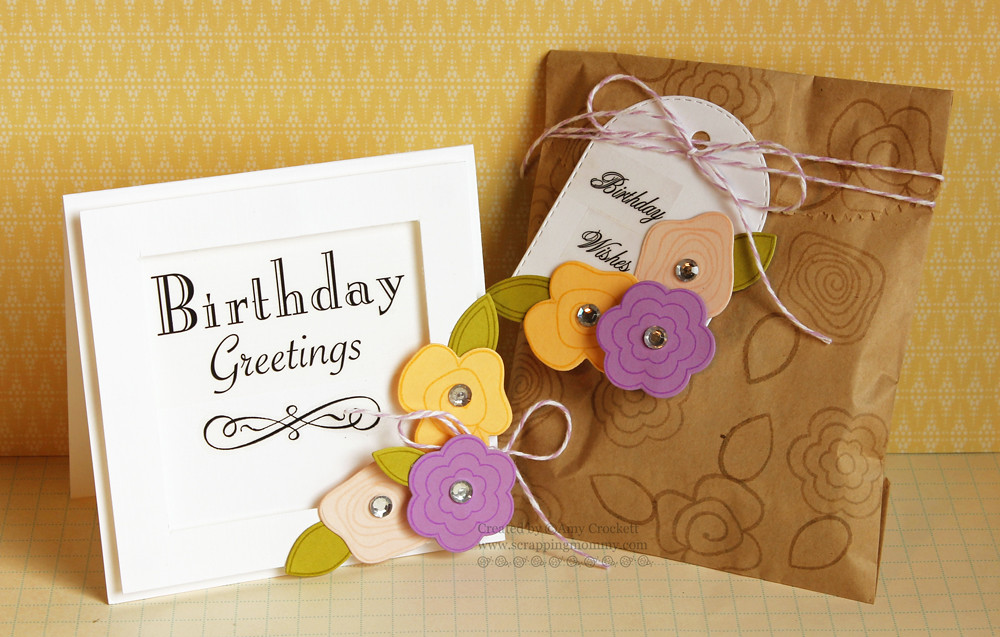
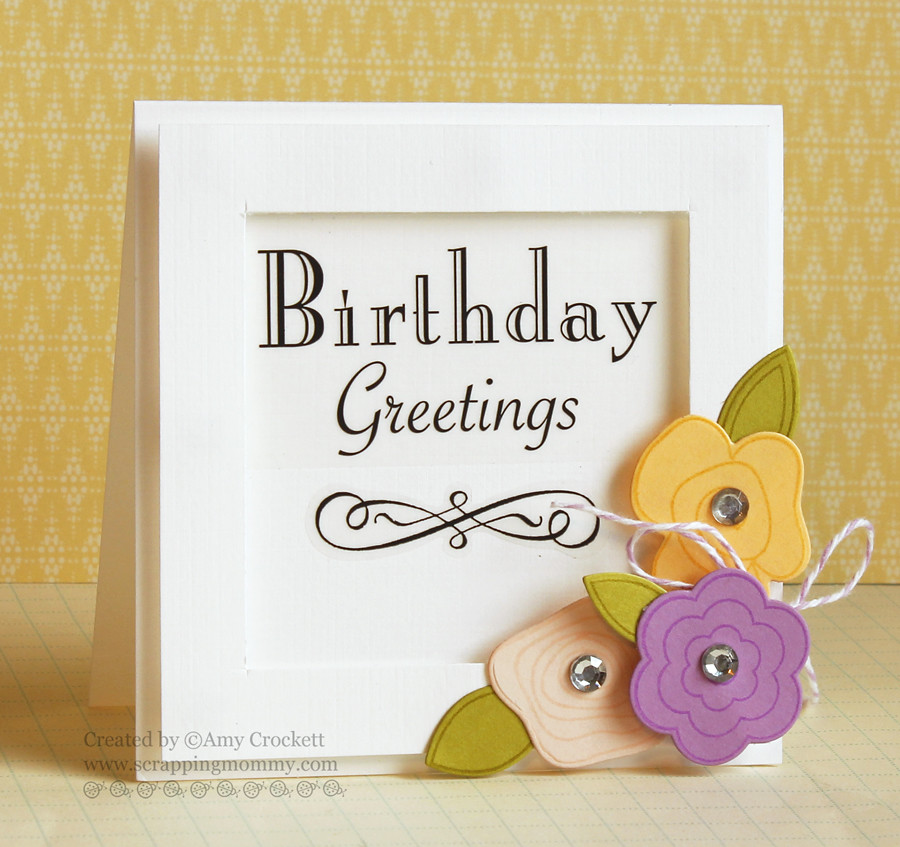
Hello friends!! Today I am sharing a post with you that features Paper Sweeties stamps and dies. I was thrilled when Debbie asked me to guest design this month. There are some wonderful stamp and die sets on their website and so narrowing it down to the one I wanted to work with was pretty hard. I picked the Pretty Posies stamp and Sweet Cuts die sets and created this little gift set......
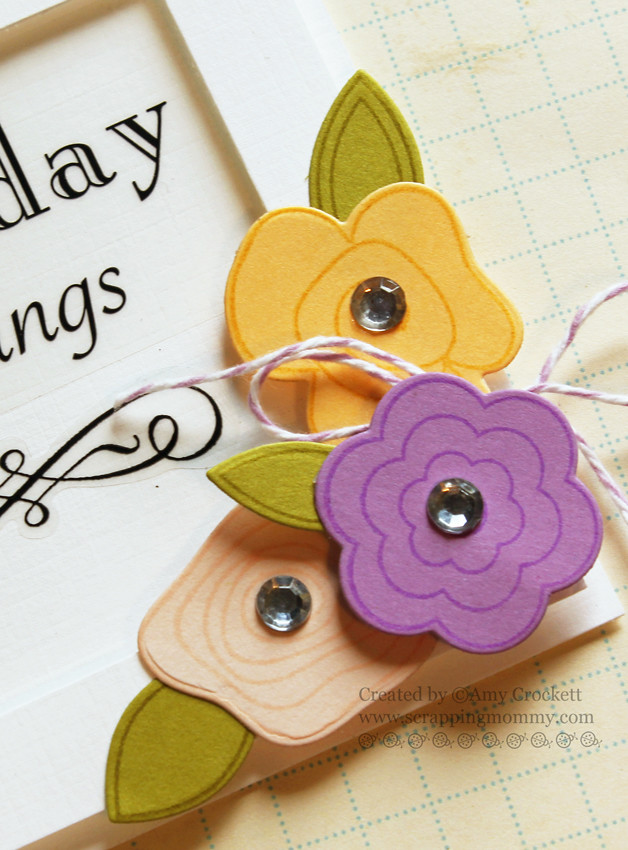
The card is 4 x 4 inches and I added a simple white frame to it. The sentiment on the inside is from SRM Stickers. The flowers and leaves from the Pretty Posies stamp set are stamped on cardstock with similar ink colors and then die cut with the matching Sweet Cuts die set. I added a bit of Orchid bakers twine from The Twinery and a rhinestone to the middle of each flower. Here is a closer look....
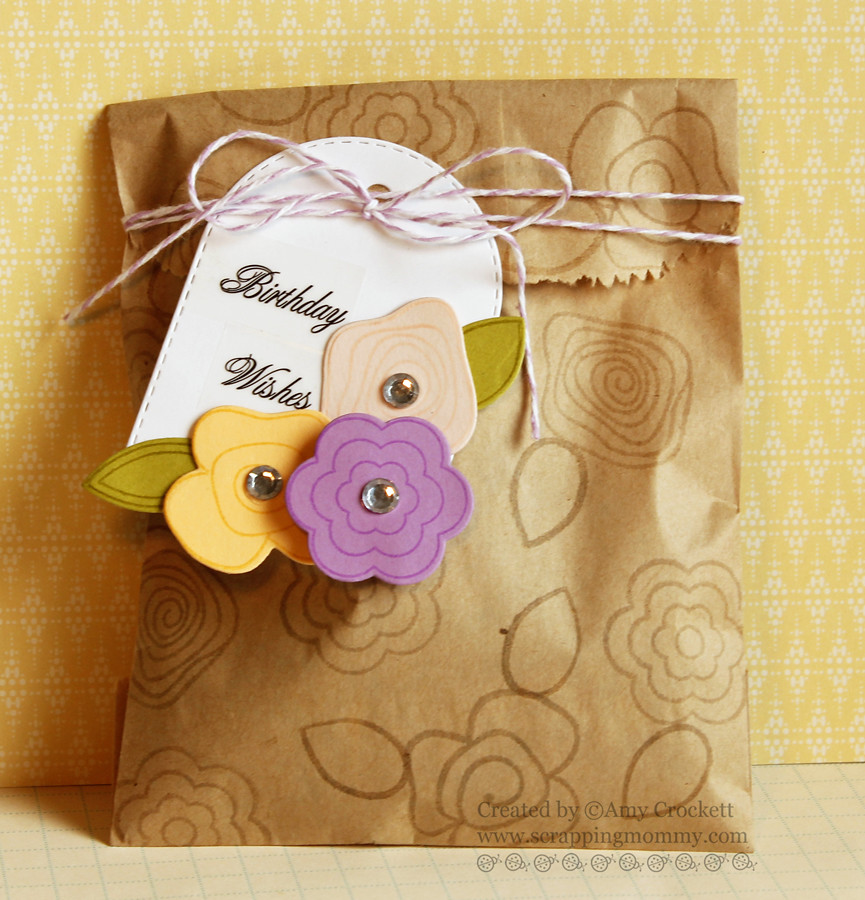
I used THIS bag from SRM Stickers and stamped the flower and leaf images onto it with a clear ink (Versamark). I then folded over the top and tied it up with some more Orchid bakers twine. The bag has some of my favorite treats in it.....some yummy Hershey's Bliss Dark Chocolate. :)
The flowers for the tag are done the same way as for the card. I used THIS tag from My Creative Time and added a sentiment from SRM Stickers. Here is a closer look at the tag......
I hope that you have enjoyed my projects today and I would love it if you jumped over to the Paper Sweeties Blog and thanked them for giving me a chance to share these with you today.
I have a blog hop coming up later today featuring the Caribbean bakers twine from The Twinery.....so, come on back and check out the fab tags that I made for it.
Hugs,
Amy
Friday, November 28, 2014
Peachy Keen Stamps and Miss Kate Cuttables Blog Hop {Day 5}
Hello again!! Welcome to my stop on the Peachy Keen Stamps and Miss Kate Cuttables Blog Hop {Day 5}. This is my second day to be participating and I can't wait to share my project with you. If you missed my first post, you can scroll down to check out the cute reindeer tin I shared a couple of days ago.
If you are just joining here and would like to join us for the whole hop, click on over to the Peachy Keen Stamps blog to get all the details and to get started.
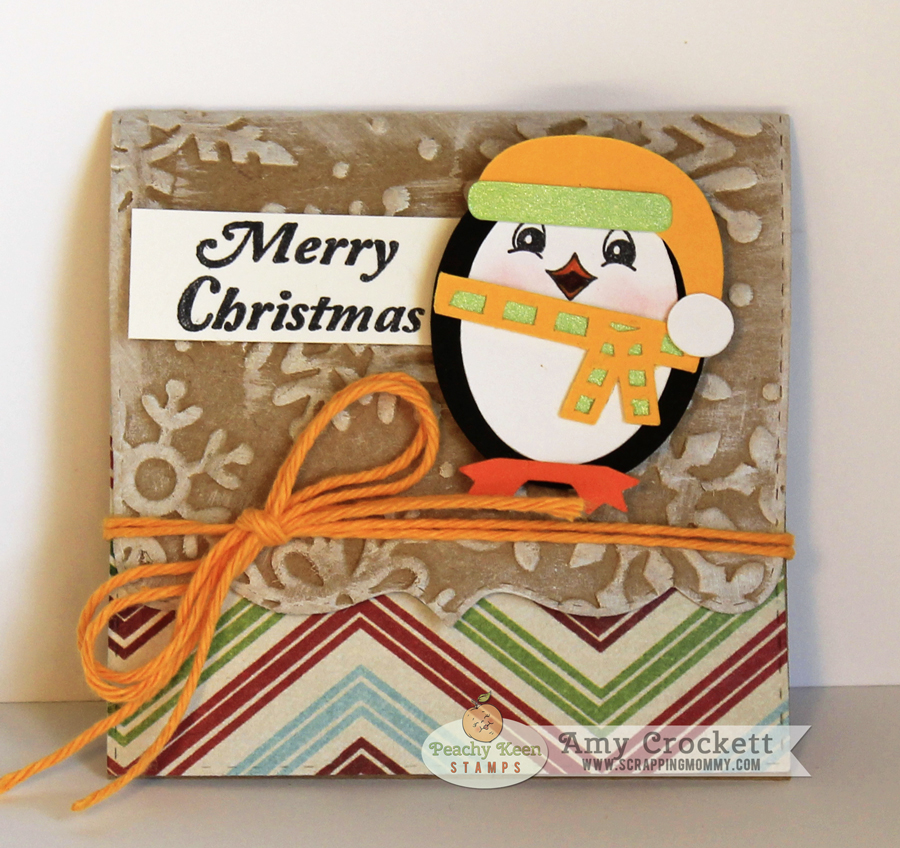
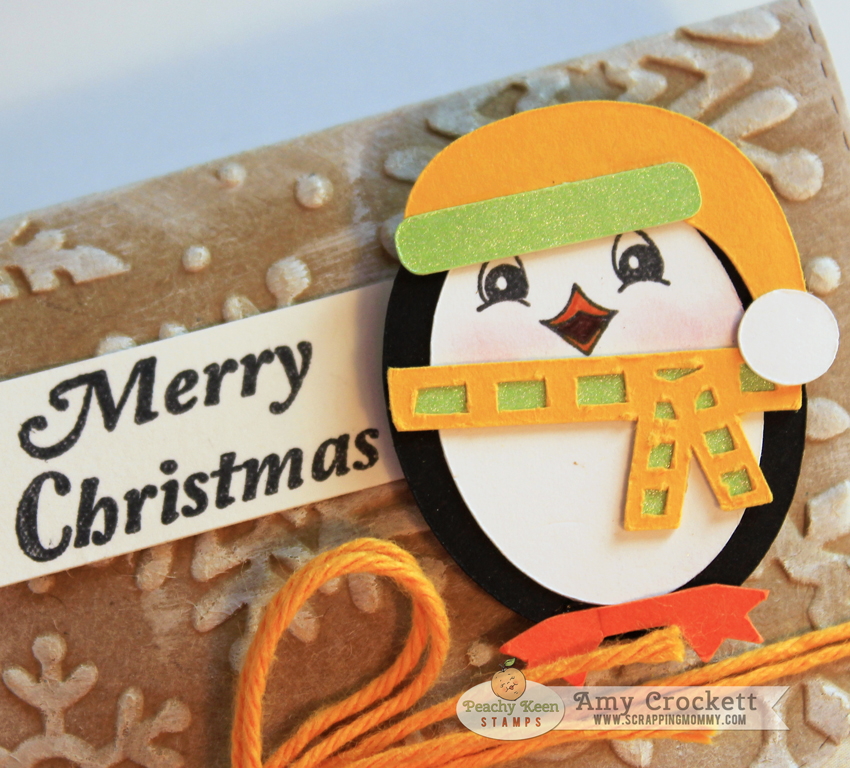
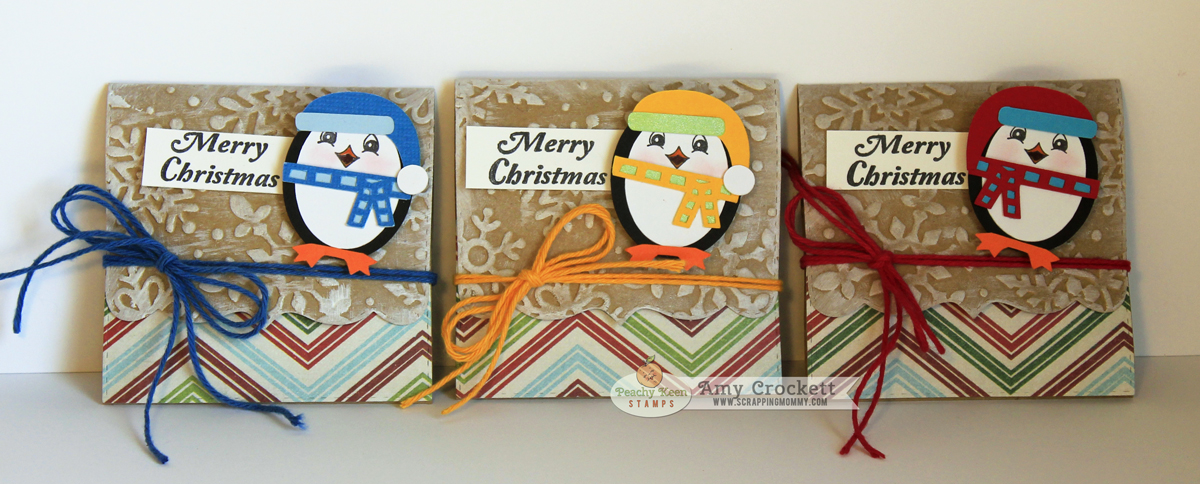
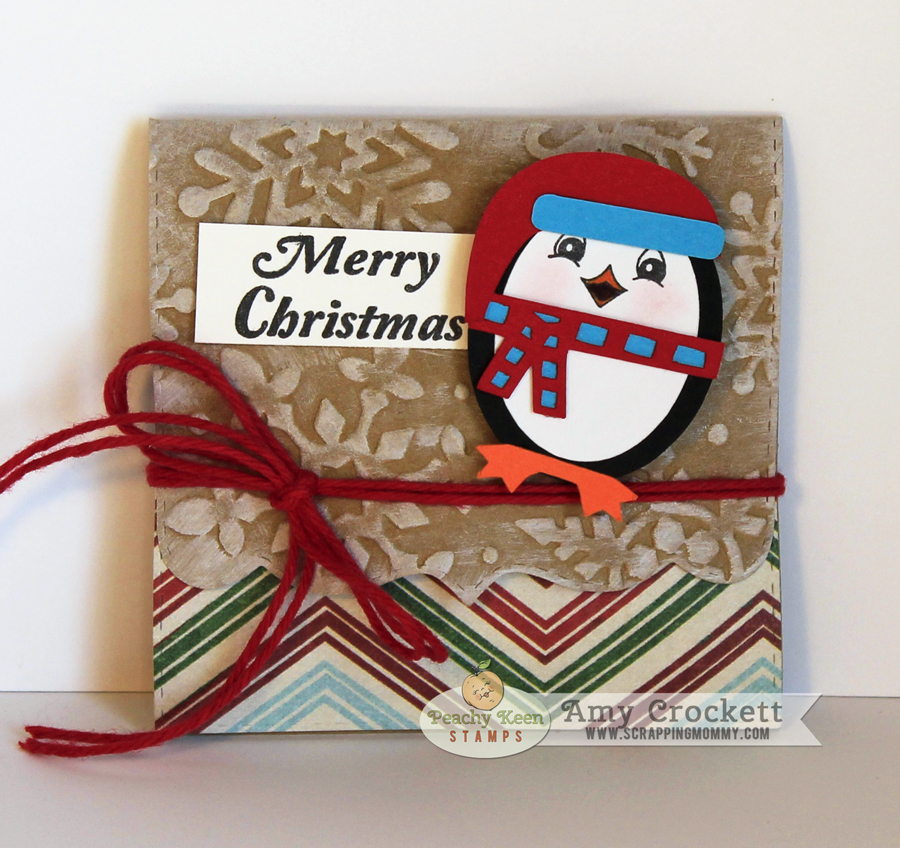
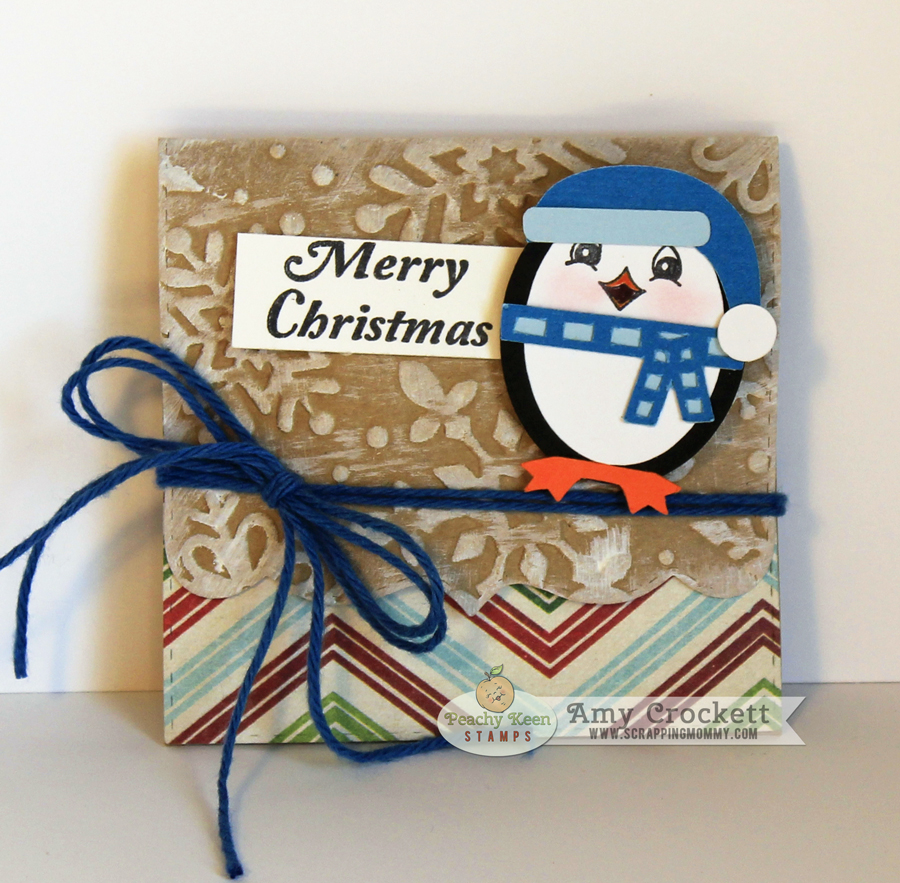
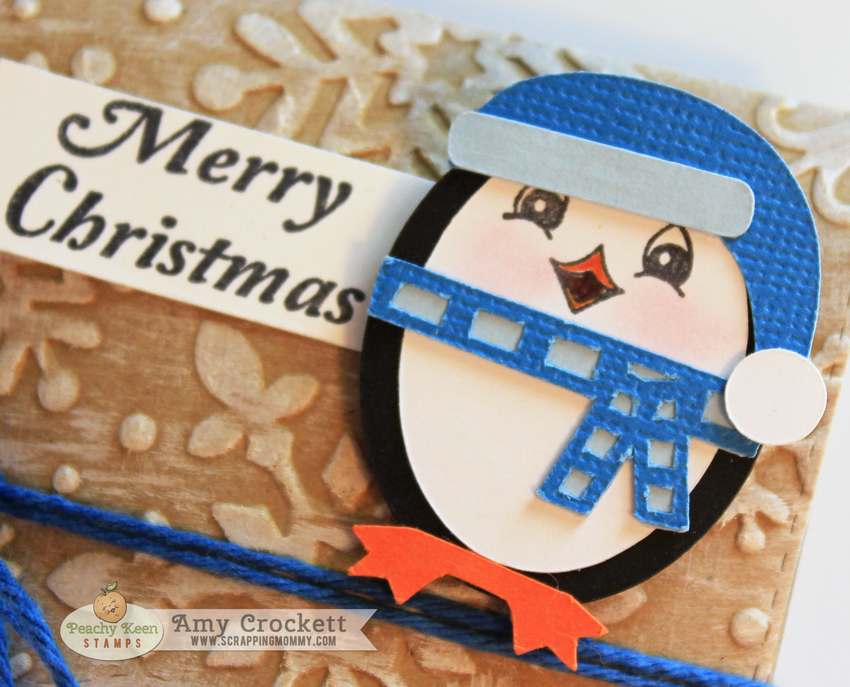
For my project, I created some cute little treat holders and decorated them with the cute little penguins from the Brrrr, It's Cold! cut file from Miss Kate Cuttables. I used the Winter Wonderland face assortment for the faces and the July 2013 SOTM from Peachy Keen Stamps for the sentiment. Both of these stamp sets are a part of the November Specials over at PKS. Here is a look a each one.....
I added a bit of texture to these 3x3 tri-fold cards with a Winter Flurry embossing folder. I lightly painted over the embossing with some white paint. I tied them all up with some solid bakers twine from The Twinery.
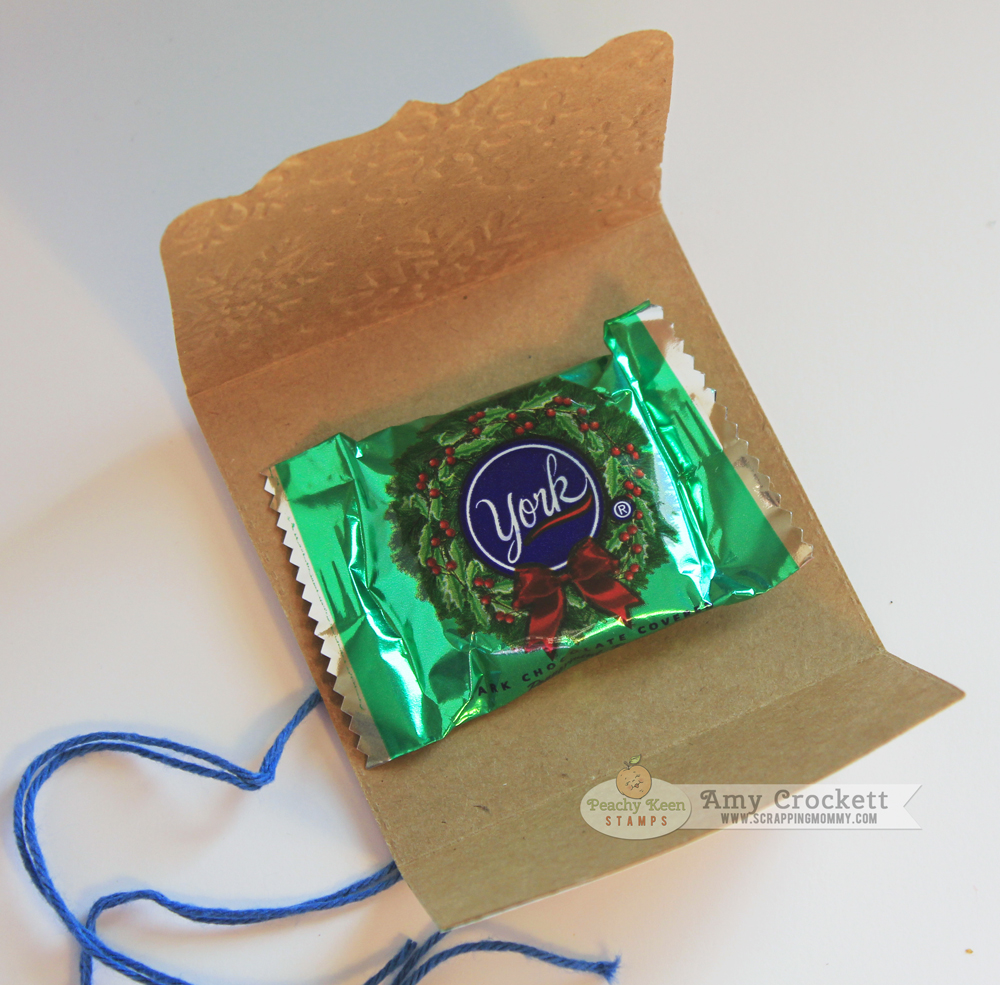
Here is what they look like on the inside. I used a glue dot and adhered these little York peppermint patties to the inside.
Now, what fun is a blog hop without a FABULOUS prize??
The Peachy Keen Stamps prize for one lucky blog hopper is a $25.00 Gift Certificate for each day of comments and then at the end of our event, ONE lucky blog hopper will win a $75.00 Gift Certificate from all the comments for the week.
How does that sound?? Well, you better leave a comment here and then hop on over to the Peachy Keen Stamps blog to leave a comment and also to find out where you can go to leave more comments for more chances to win.
Have a great day!!
Hugs, Amy
If you are just joining here and would like to join us for the whole hop, click on over to the Peachy Keen Stamps blog to get all the details and to get started.
For my project, I created some cute little treat holders and decorated them with the cute little penguins from the Brrrr, It's Cold! cut file from Miss Kate Cuttables. I used the Winter Wonderland face assortment for the faces and the July 2013 SOTM from Peachy Keen Stamps for the sentiment. Both of these stamp sets are a part of the November Specials over at PKS. Here is a look a each one.....
I added a bit of texture to these 3x3 tri-fold cards with a Winter Flurry embossing folder. I lightly painted over the embossing with some white paint. I tied them all up with some solid bakers twine from The Twinery.
Here is what they look like on the inside. I used a glue dot and adhered these little York peppermint patties to the inside.
Now, what fun is a blog hop without a FABULOUS prize??
The Peachy Keen Stamps prize for one lucky blog hopper is a $25.00 Gift Certificate for each day of comments and then at the end of our event, ONE lucky blog hopper will win a $75.00 Gift Certificate from all the comments for the week.
How does that sound?? Well, you better leave a comment here and then hop on over to the Peachy Keen Stamps blog to leave a comment and also to find out where you can go to leave more comments for more chances to win.
Have a great day!!
Hugs, Amy
Wednesday, November 5, 2014
Snowman Candle Tutorial
Hello everyone!! I have a new post up over at the Peachy Keen Stamps blog sharing a tutorial with you on how to put images on candles using stamps. I have done a few of these in the past with pictures of my kiddos for family members, but I love this idea of using stamps on a candle to make personalized gifts for neighbors and friends.
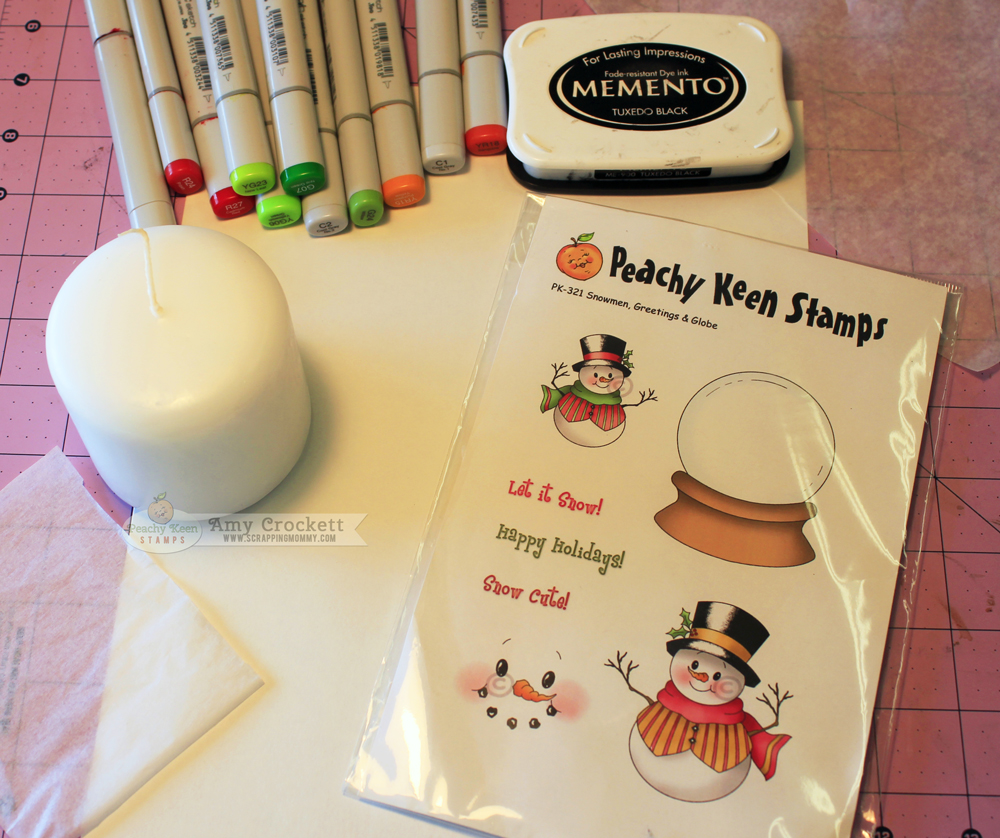
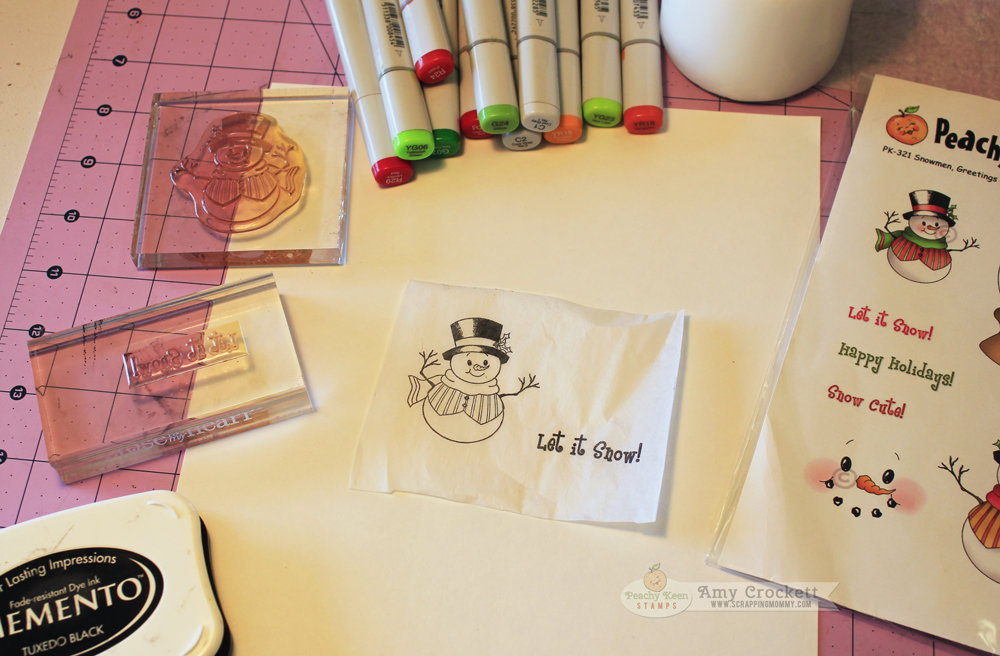
Here is what you will need to get started:
- candle
- stamps (I am using the Snowmen, Greetings and Globe stamps from Peachy Keen Stamps)
- black ink (I use Memento Tuxedo Black)
- white tissue paper
- wax paper
- scissors
- heat tool
- coloring medium (I used my Copic markers)
- white scrap cardstock (to keep your work surface from getting stained)
Step 1:
Take your tissue paper and stamp your image on the smoother side. There is usually a bit of a smoother side to tissue paper and I have had better results with the coloring on the smooth side. Be sure to do this over your white scrap piece of cardstock to keep the ink from bleeding through to your workspace.
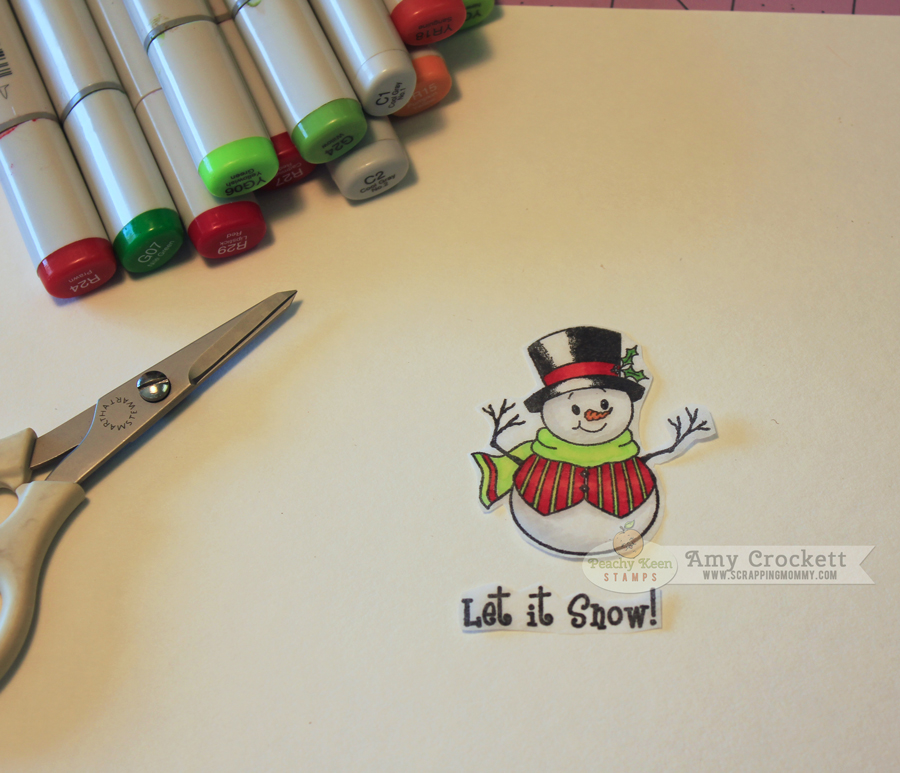
Step 2: Color and cut out your image. If you are using markers, be sure to keep the white cardstock under your image because they will bleed through the thin tissue paper. There is no need to be precise on your cutting job....it will not show once it is on the candle.
Step 3: Place your cut out images on the candle where you want them to be.
Step 4: Tightly wrap the waxed paper around your candle so that it is smooth over the image. Using your heat tool, wave it over and around the image until you see it start to get glossy. Be sure that it is glossy over the whole image, but don't leave it too long in one spot or it will warp your candle.
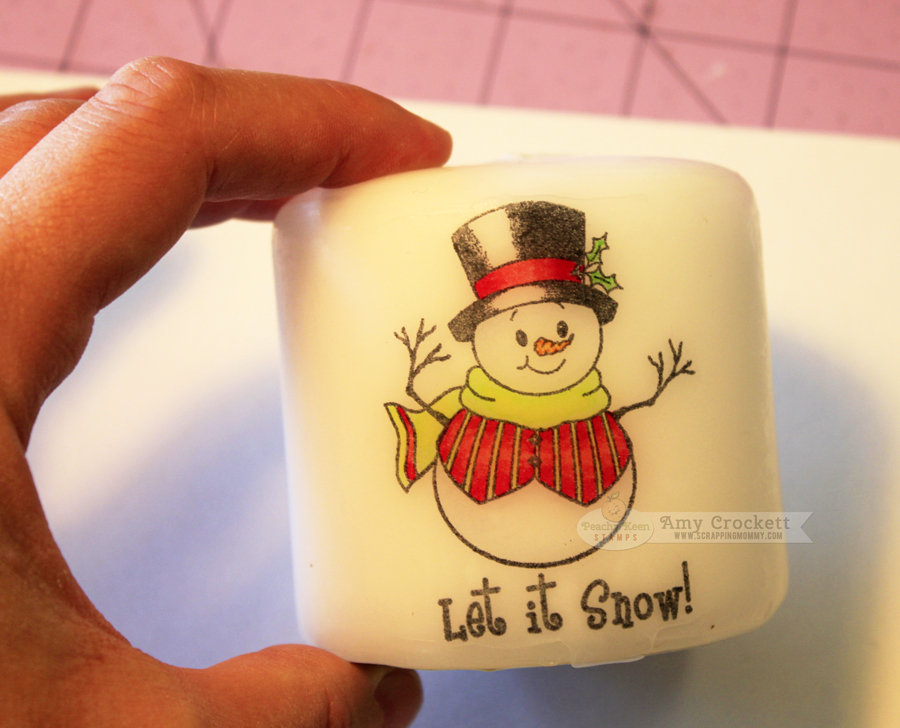
Step 5: Let the candle cool (only takes a minute or so) and then carefully peel the wax paper off of the candle. Your image should now be completely melted into the candle.
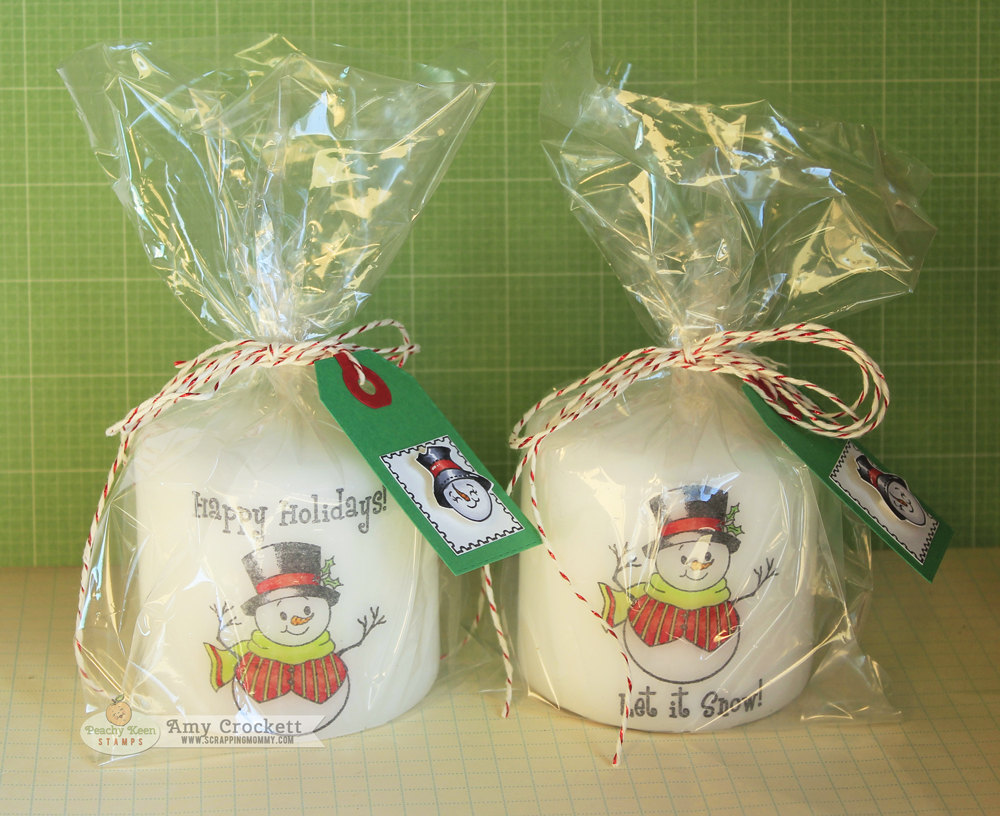
Here is a look at two of them that I have made.....
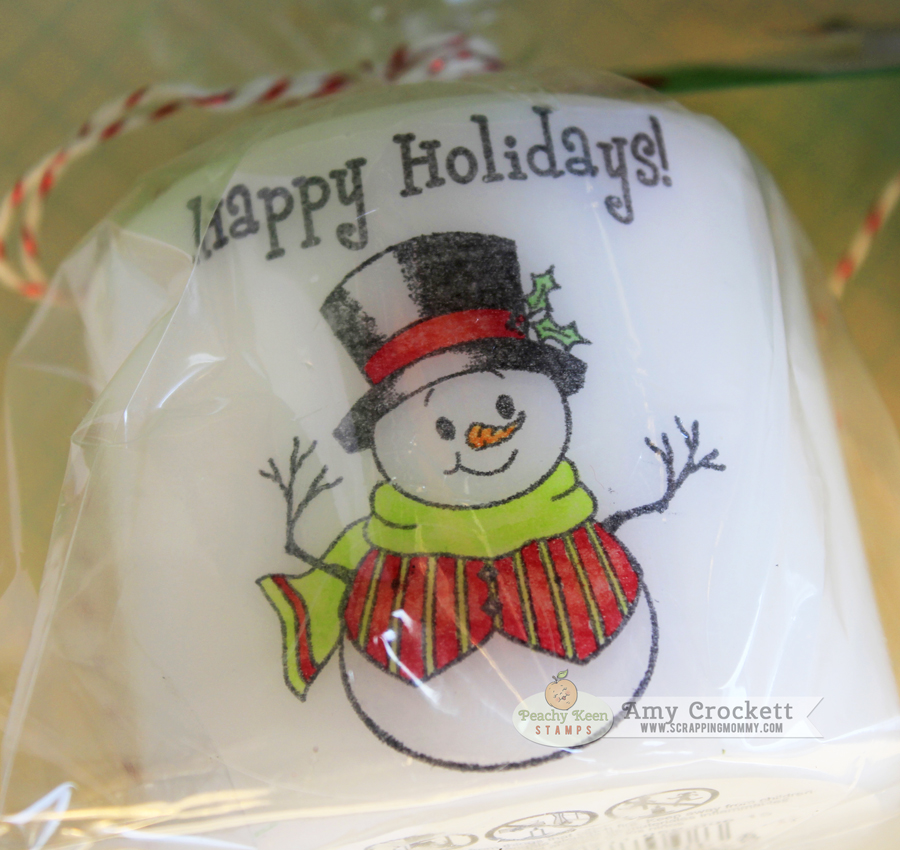
They were really simple and quick to make....I think I will be doing several more for neighbor gifts this year!! To package them up, I put them in cellophane bags.
I used some shimmer bakers twine from The Twinery to tie them up and then made this cute little tag with the November 2013 SOTM from Peachy Keen Stamps. This set is part of the November Specials going on right now. I also used the Stitched Round Tab and Tag die set from My Creative Time for the tag base.
I hope that you have a great week!!
Hugs,
Amy
Monday, June 9, 2014
Thanks : Poppy Sketch #6
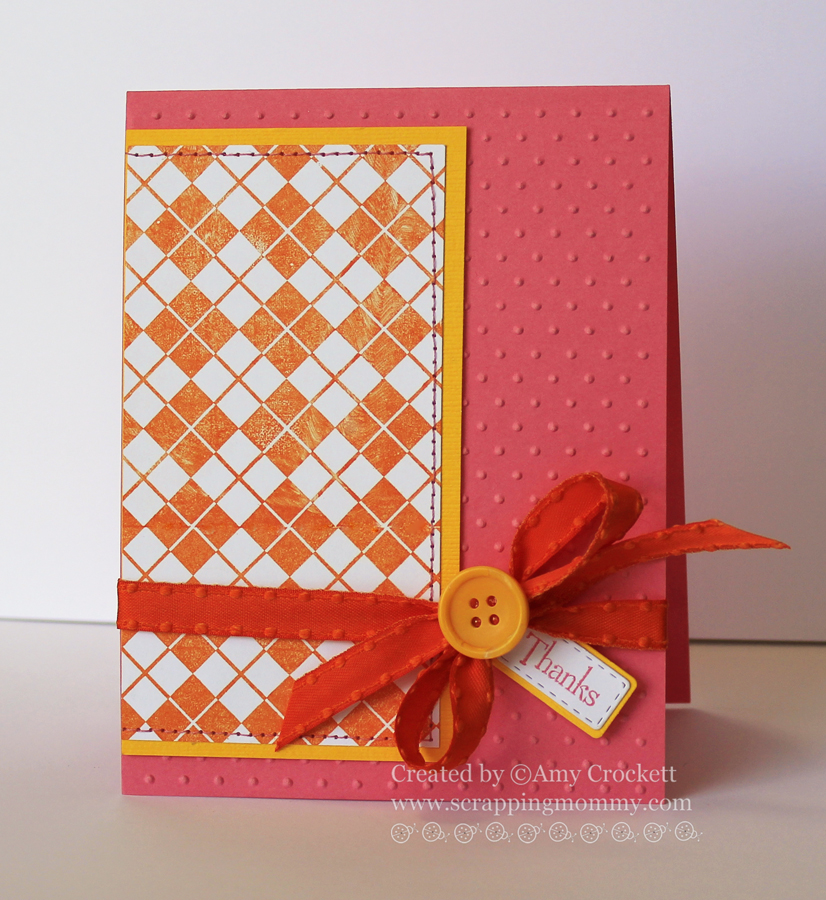
Hello friends!! Today there is a new sketch up over on the Poppy Sketches blog. This one is a new one that has a bit of a different twist to it. Instead of colors, we are going to challenge you to use a harlequin pattern somewhere on you card. I was sent this lovely orange satin ribbon with a knotted edge from May Arts to use on this project. Check it out.....
I used the Coffee Background stamp and Chunky Jar Accessories from My Creative Time on my card, as well as the Swiss Dots embossing folder. I finished it off with a bit of machine stitching and a yellow button.
Hop on over to the Poppy Sketches blog to join us for this great new challenge.
Hugs,
Amy
I used the Coffee Background stamp and Chunky Jar Accessories from My Creative Time on my card, as well as the Swiss Dots embossing folder. I finished it off with a bit of machine stitching and a yellow button.
Hop on over to the Poppy Sketches blog to join us for this great new challenge.
Hugs,
Amy
Post Related to:
cards,
cuttlebug,
My Creative Time,
Poppy Sketches,
stamping
Friday, December 20, 2013
Farewell Blog Hop with My Creative Time
Welcome to our Farewell Blog Hop! We are doing this hop to HONOR & send off our Current design team in a fun way. Since all of us have become friends, we are doing our LAST blog hop together making it a Friendship theme. I hope all of YOU thoroughly enjoyed this team as much as we did! Since this is a special day, there will be a giveaway at EACH STOP! Yep, that means we are having a total of 19 giveaways! All you have to do is leave your comments in order to qualify! Emma will announce all the winners on Monday, 12/23/2013 on her blog! Here is what I am giving away today:
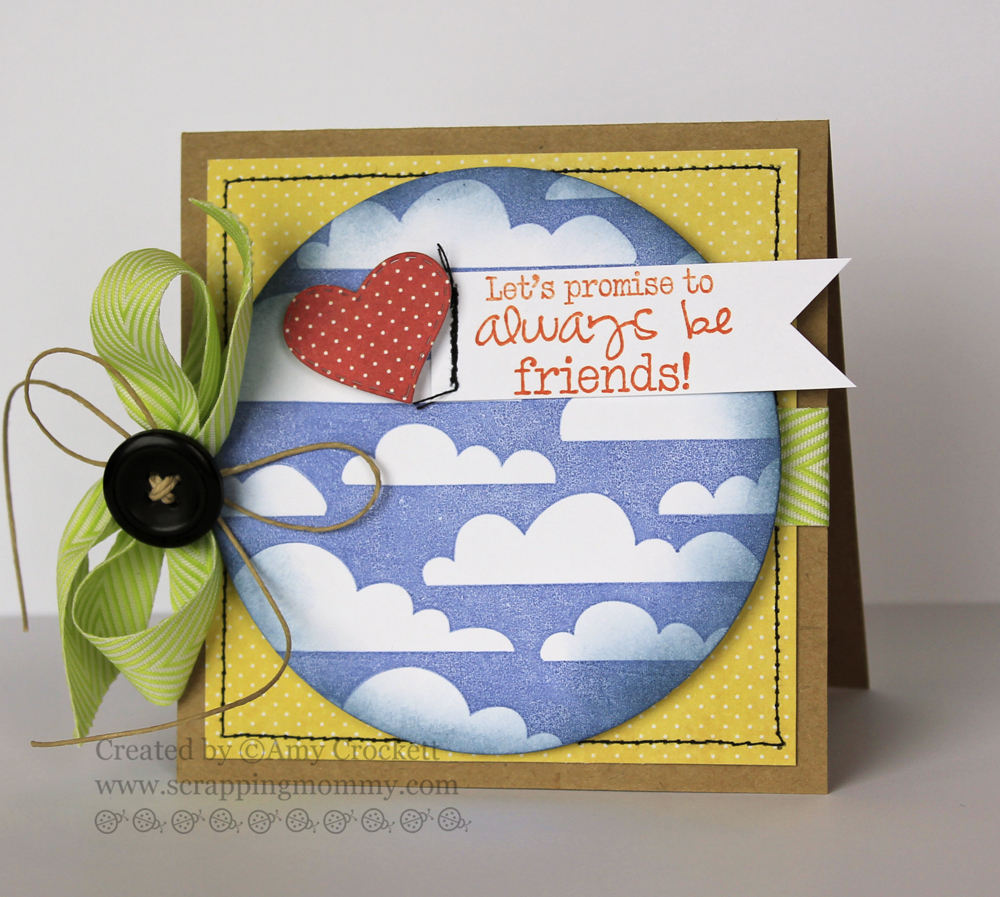
If you have come from Emma's blog, you are in the right spot. If you have just come upon my blog post and would like to join us, hop on back to Emma's blog to get started. I thought it would be fun to create a card using the Cartoon Cloud stamp set that I am giving away on my stop of the blog hop. Here is my friendship themed card:
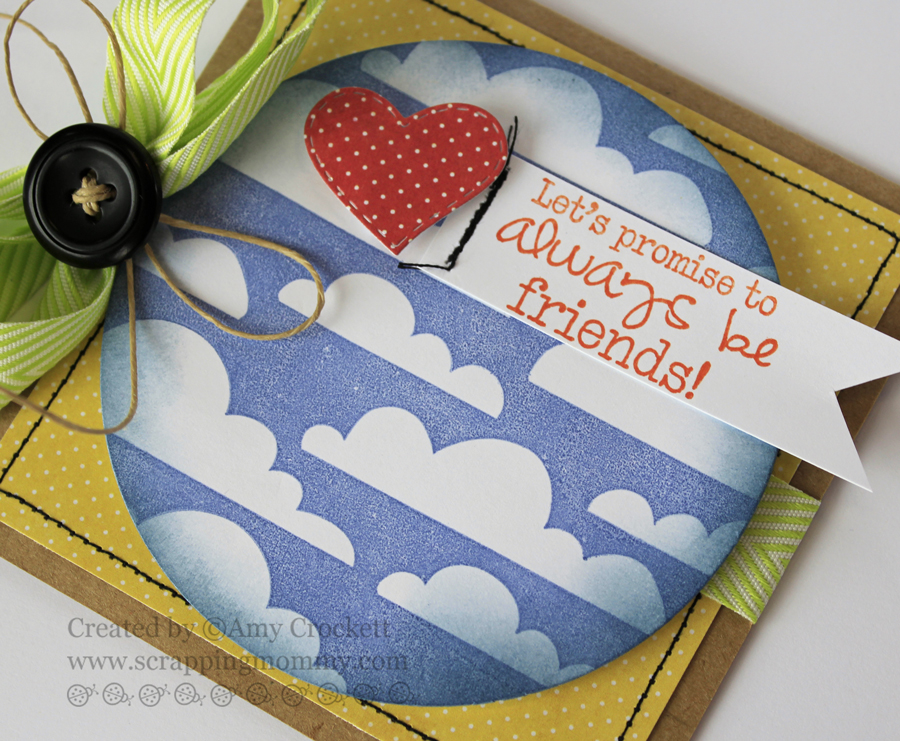
I used the Treasured Moments stamp set for the sentiment and die cut the largest Stitched Heart Layering Die to add to it. Take a closer look.....
I would like to take a moment to say how very thankful I am for the opportunity Emma has given me to be a part of her team. She has some of the most wonderful designs out there and is always so amazing to work with. I would like to wish her great success with her business and personal life and we will always keep in touch. ♥
Now, it is time to hop on to Cassandra's blog to see what wonderful project she has to share with us today. Don't forget to hop to each of these super talented ladies to check out their projects. They have been some of the most supportive and loving friends over the last couple of years. Remember each of us has a stamp set to give away (courtesy of Miss Emma), so don't forget to leave them all a little love.
Here is the complete blog hop line-up:
Emma
Amy {YOU ARE HERE}
Cassandra
Cathryn
Cheryl
Cindy B.
Courtney
Glora
Katie
Kim
Leanne
Liz
Nancy
Nikki
Rosy
Ruthie
Shar
Tracy
Veronica
Have fun and Good Luck!!
Hugs,
Amy
If you have come from Emma's blog, you are in the right spot. If you have just come upon my blog post and would like to join us, hop on back to Emma's blog to get started. I thought it would be fun to create a card using the Cartoon Cloud stamp set that I am giving away on my stop of the blog hop. Here is my friendship themed card:
I used the Treasured Moments stamp set for the sentiment and die cut the largest Stitched Heart Layering Die to add to it. Take a closer look.....
I would like to take a moment to say how very thankful I am for the opportunity Emma has given me to be a part of her team. She has some of the most wonderful designs out there and is always so amazing to work with. I would like to wish her great success with her business and personal life and we will always keep in touch. ♥
Now, it is time to hop on to Cassandra's blog to see what wonderful project she has to share with us today. Don't forget to hop to each of these super talented ladies to check out their projects. They have been some of the most supportive and loving friends over the last couple of years. Remember each of us has a stamp set to give away (courtesy of Miss Emma), so don't forget to leave them all a little love.
Here is the complete blog hop line-up:
Emma
Amy {YOU ARE HERE}
Cassandra
Cathryn
Cheryl
Cindy B.
Courtney
Glora
Katie
Kim
Leanne
Liz
Nancy
Nikki
Rosy
Ruthie
Shar
Tracy
Veronica
Have fun and Good Luck!!
Hugs,
Amy
Post Related to:
Blog Hop,
cards,
Giveaways,
My Creative Time,
stamping
Friday, December 6, 2013
Tree Tags with MCT's 5 Days of Christmas {Day 5}
Hello & welcome to our "5" Days of Christmas"! This week we will be
sharing w/you LOTS of last minute Christmas ideas, such as cards, layouts, home
decor, 3-D items & what ever else come to mind that will help YOU get your
juices flowing for the holiday! There will be a giveaway each day & a winner
will be announced each day! Example, winner of Monday will be announced on
Tuesday, winner of Tuesday will be announced on Wednesday.....and so on! You will see the different prizes each day on Emma's blog HERE! I hope we ALL inspire you
this week!
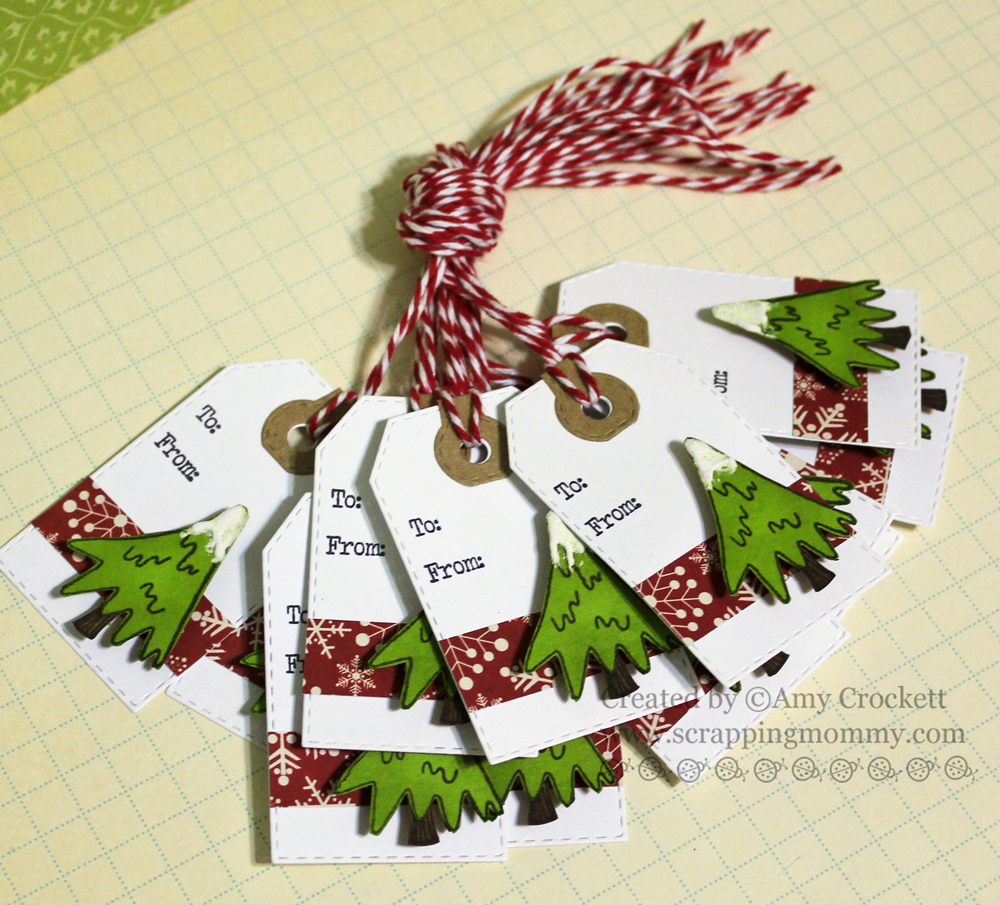
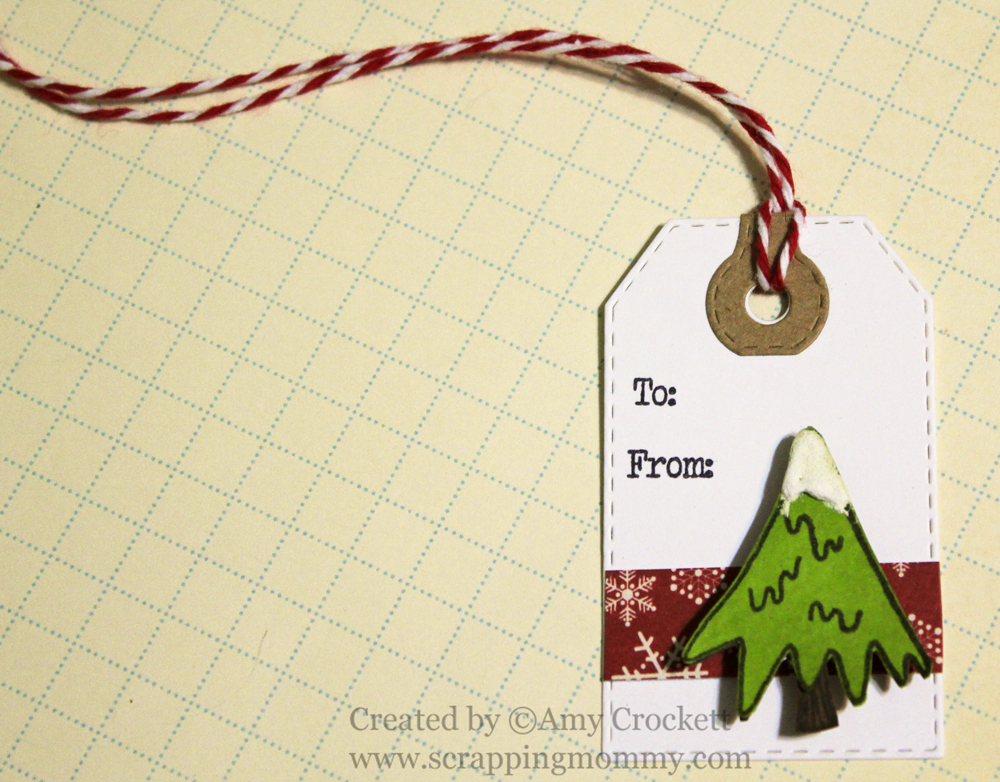
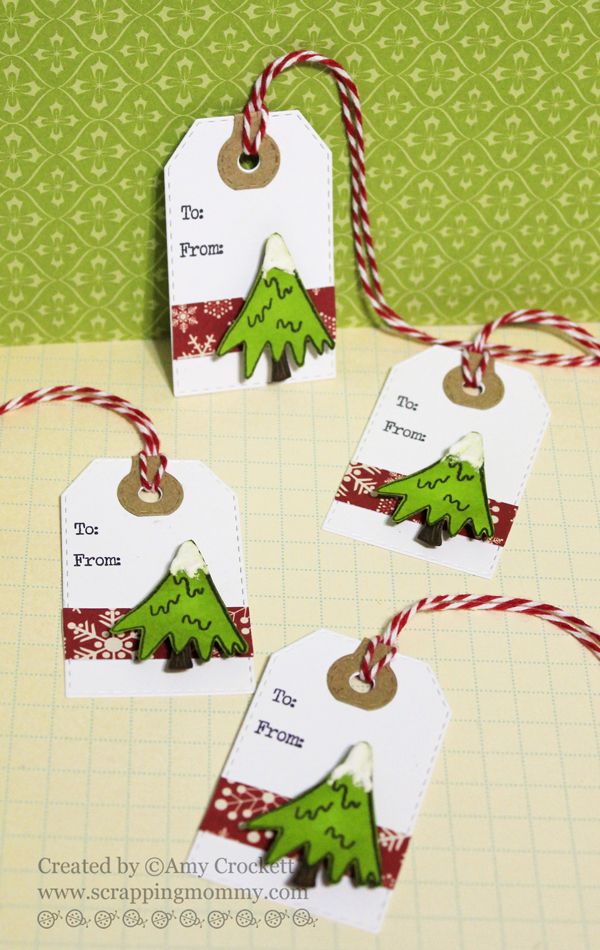
I made a set of 24 tags to adorn my packages this year. I used the Stitched Round Tab, Arrow & Tag Dies to cut out the tag in white with a kraft colored round tab at the top. Take a look at a dozen or so I have tied together......
The tree is stamped and paper pieced from the It's a Magical Season stamp set. I added the To and From with the Holiday Tickets stamp set. Here is a closer look......
I used some patterned paper scraps from Imaginisce for the red snowflake paper and tied them all up with the Maraschino bakers twine from The Twinery. I added snow to the tops of the trees with a DecoArt Snow Writer.
Hop on over to the My Creative Time blog to check out what Emma and the other designers are sharing today. Don't forget to leave a comment below for a chance to win one of the wonderful prizes that Emma is giving away this week.
Hugs,
Amy
Post Related to:
My Creative Time,
stamping,
Tags,
The Twinery
Subscribe to:
Posts (Atom)