

I created a fun string art project using some yummy Solid Bakers Twine. Here is my completed projectl....

I also have completed a tutorial for it so that you can make one of your own to give away this holiday season......
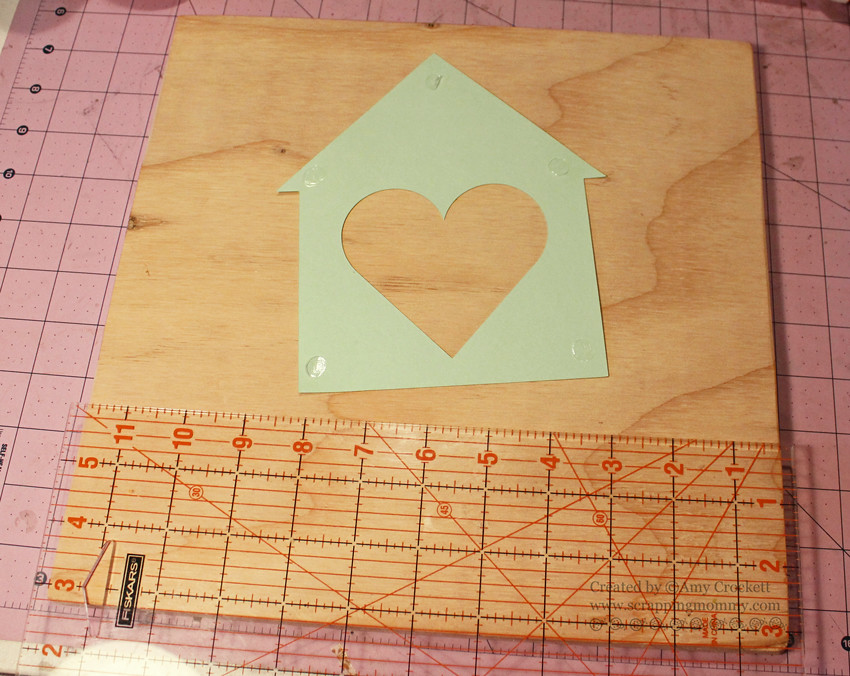
I love giving out handmade items for the holidays...it just makes each gift more personal. Today I am sharing a fun string art project using lots of yummy Solid bakers twine from The Twinery. To get started, you will need: A board base (mine is 11 1/2 x 11 1/2), nails (mine are finish nails that are 1 1/4 inches), bakers twine (I used the Solid Caribbean and Solid Pink Sorbet), die cut images (for template and saying).

Measure and adhere your template in the spot where you want it on your board.
Next, mark where you want to put your nails. I used a paper piercing template to get the holes as evenly spaced as I could. You could also use a ruler.

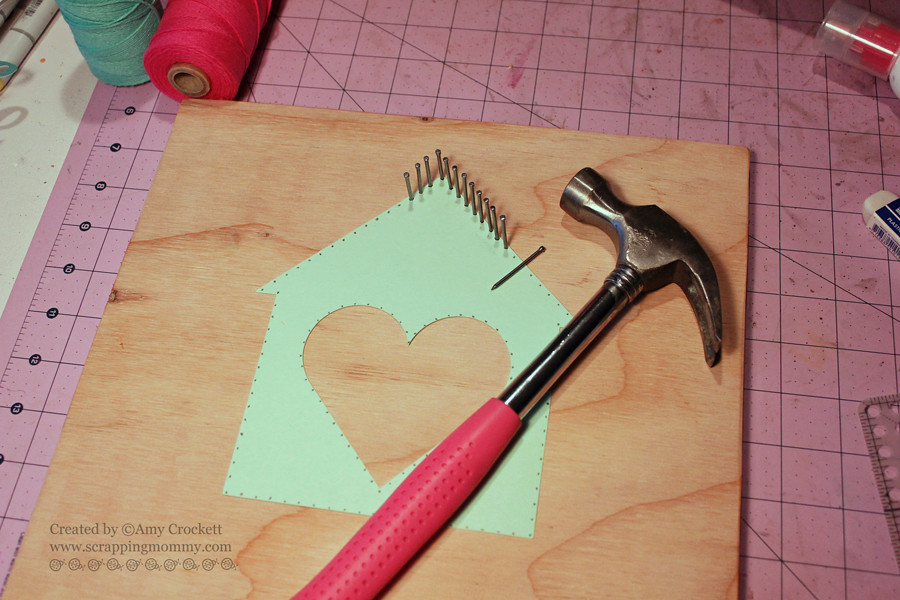
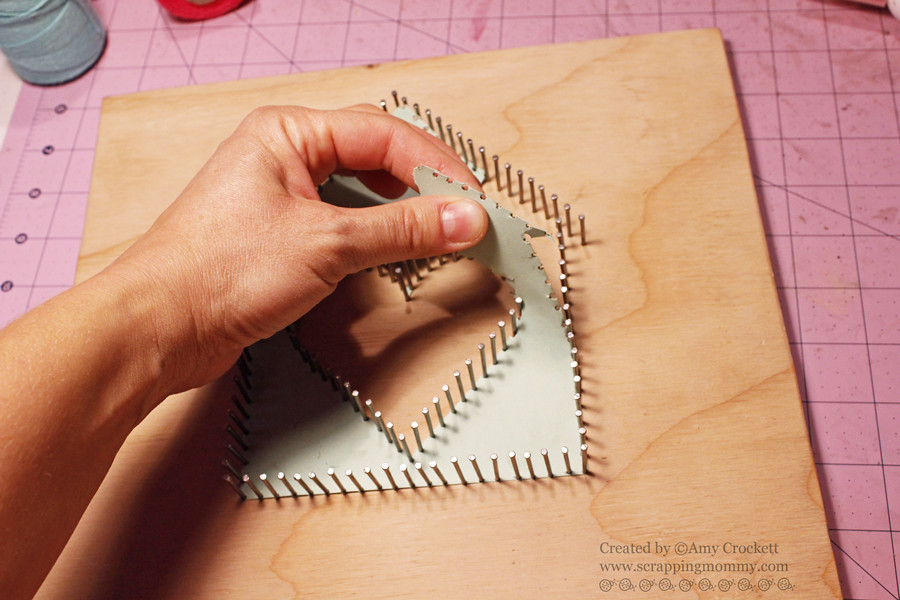
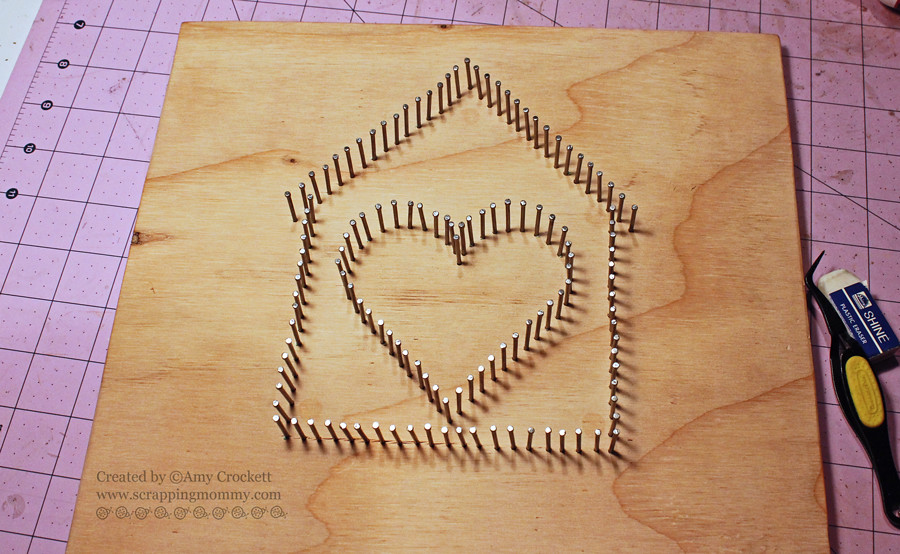
Once you have all the nails in place, remove the template and discard. Up next is the fun part...
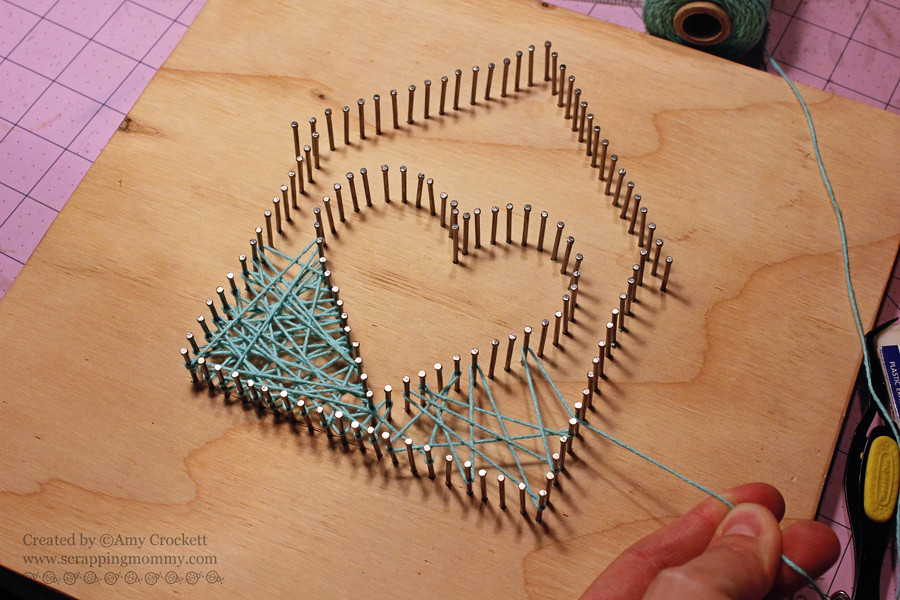
When you are satisfied with how much twine you have filled the image in with, you can then wrap it around the outside of the image and then tie it off and snip off the tails close to the nail that you tied it on. I wrapped an outline around the image twice, but I don't think that it really needed it both times.
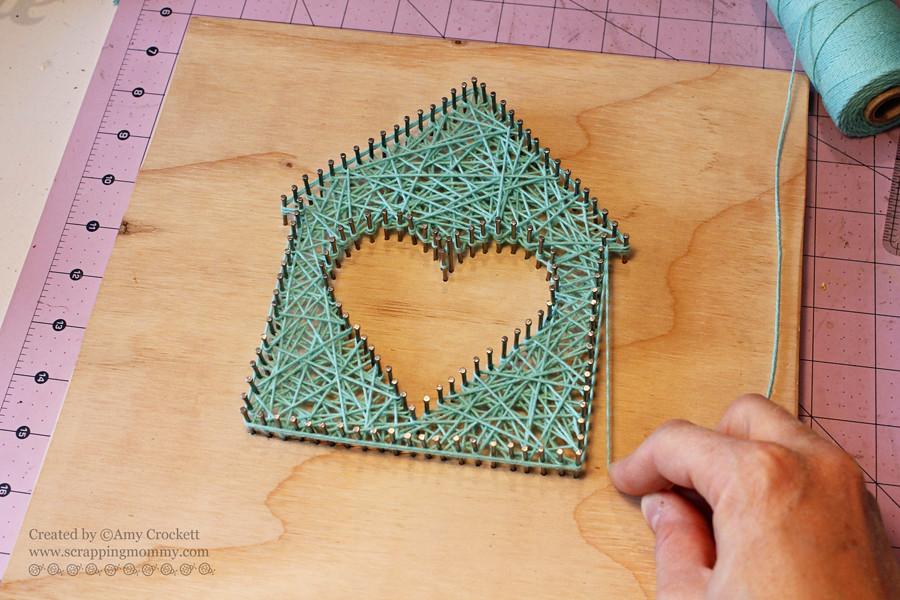
Repeat the same steps with the heart image inside the house....don't forget to outline it like the house when you are done (I may or may not have done this and then had to go back and do it before I took the picture below).
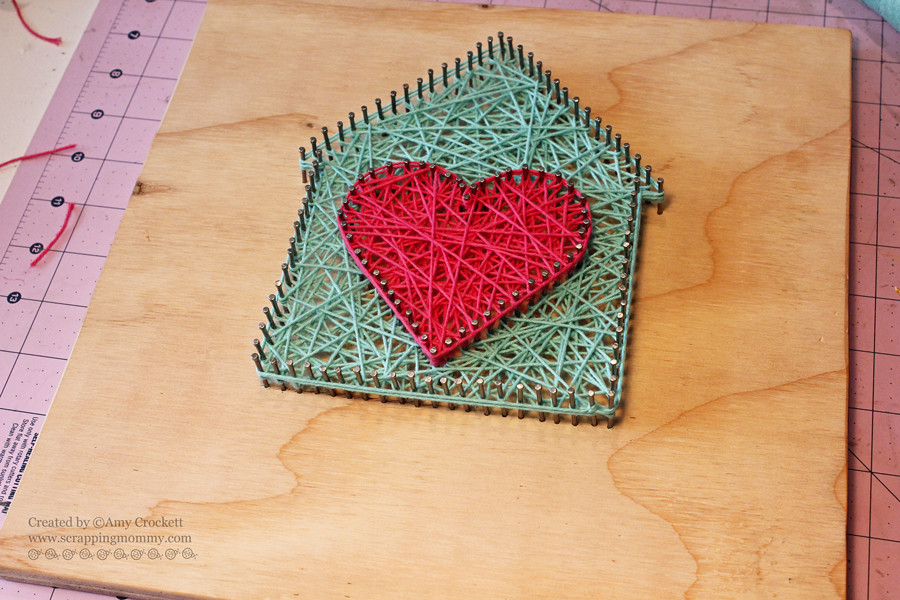
The only thing left is the sentiment that I adhered with foam adhesive to give it some lift off of the wood. I was thinking about building a frame of some sort around the edges of the wood piece, but I haven't decided yet...what do you think?
Here are the twine colors that I used in my project today....


I would love to hear what you think of my project today in the comments below. If you want to hop along and enter the HUGE giveaway going on for the Handmade Holidays blog hop (including every color of twine that The Twinery offers), you need to hop on over to The Twinery Blog post HERE, leave a comment and enter into the giveaway form embedded into the post.
Thanks for stopping by!!
Hugs,
Amy
Amazing!!!!
ReplyDeleteLove this idea and the colors of twine you used.
ReplyDeletemy, this is a fabulous project! It makes wonderfuk gift, too. Thank you for the tutorial :)
ReplyDeleteFantastic project and gift. Thank you for the details and yes, consider adding a framed.
ReplyDeleteGreat gift idea! I like it your project just the way it is without a frame.
ReplyDeleteI love your project! I think I might just have to make one!
ReplyDelete